Tutorial: Run your first dispatch trip
This tutorial walks one complete own-fleet run: set up printable QRs, open the kiosk, claim bags, start the trip, and close it at the warehouse. Follow it once start to finish; for any single step on its own, jump to its how-to page.
1. Print rider and warehouse QRs
Before the first run, an admin prints QRs from Admin → Operations → Shipping Methods (Riders tab).
Each active runner needs a Rider QR badge (ailaaj:rider:<hash>). Each warehouse that receives returns needs a Warehouse Return QR posted on the wall (ailaaj:wh:<warehouse-uuid>).
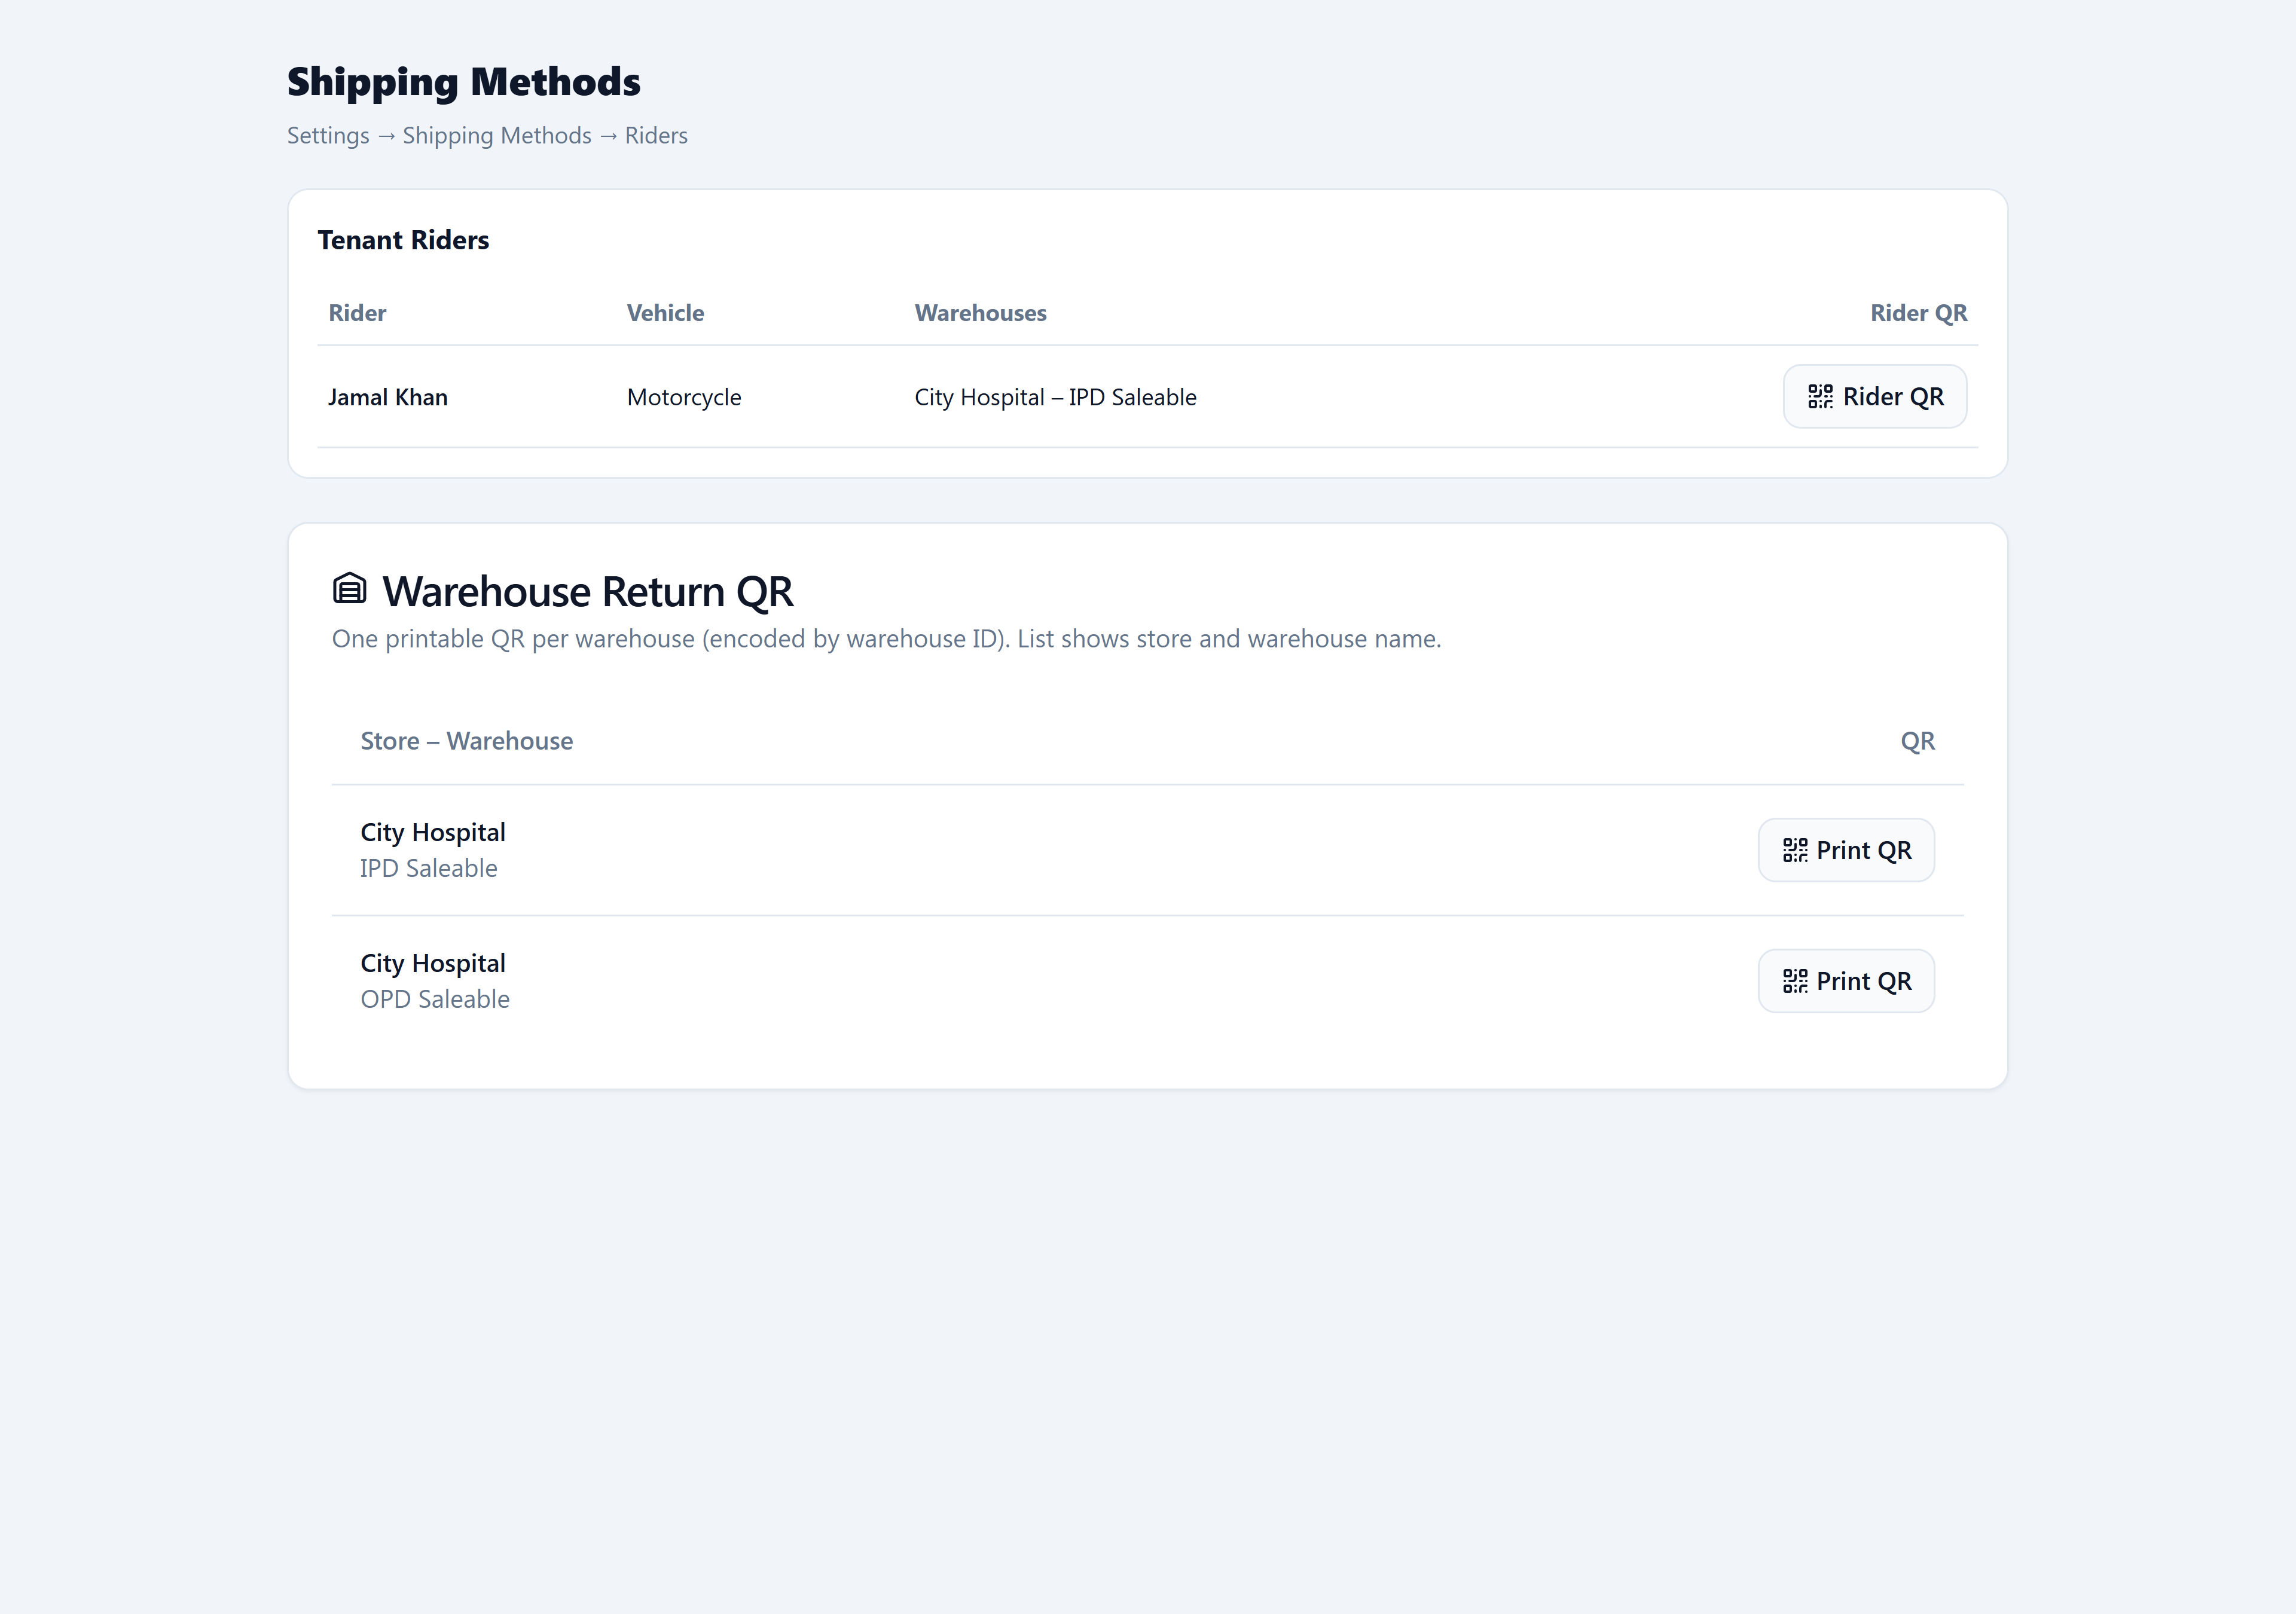
(Detail: Set up riders & warehouses · Print rider badge · Print warehouse QR.)
2. Identify at the kiosk
Open /dispatch on the dispatch PC. Choose Scanner or Camera, then scan the runner’s badge QR.
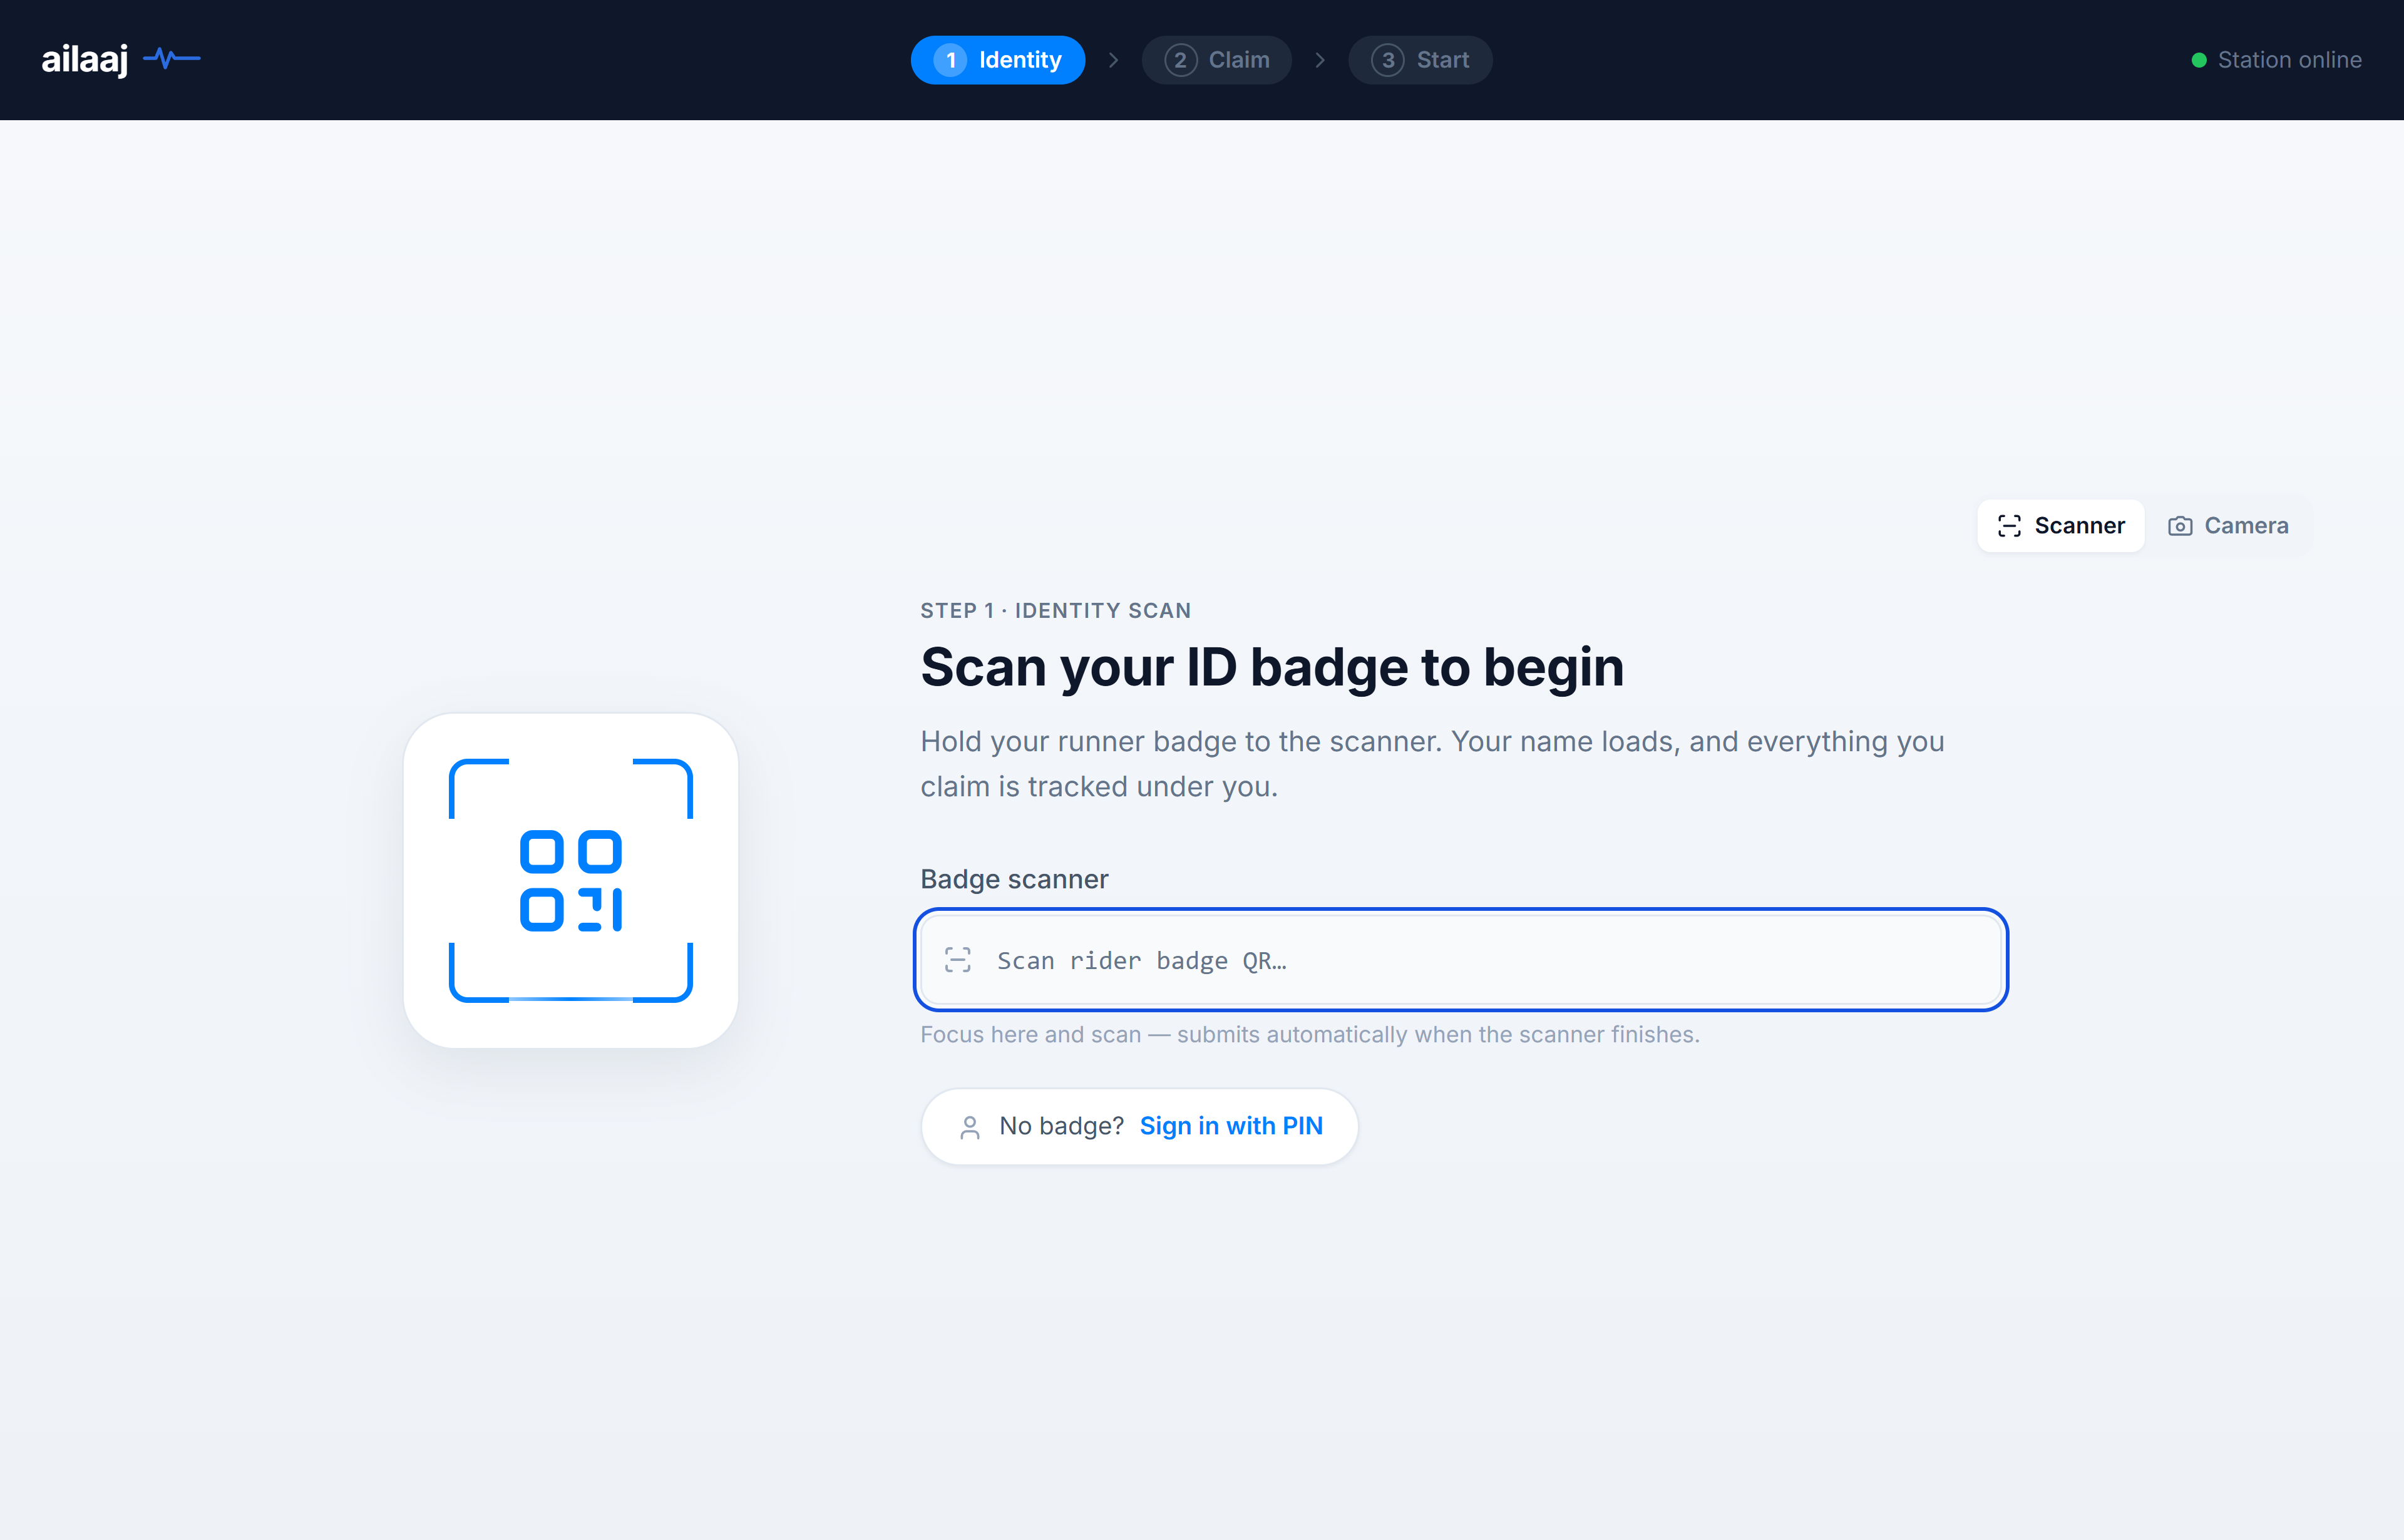
(Detail: Run the Dispatch kiosk.)
3. Claim bags from the rack
Scan picklist barcodes or tap Available tiles. Yours = on this trip; Taken = another runner’s active dispatch.
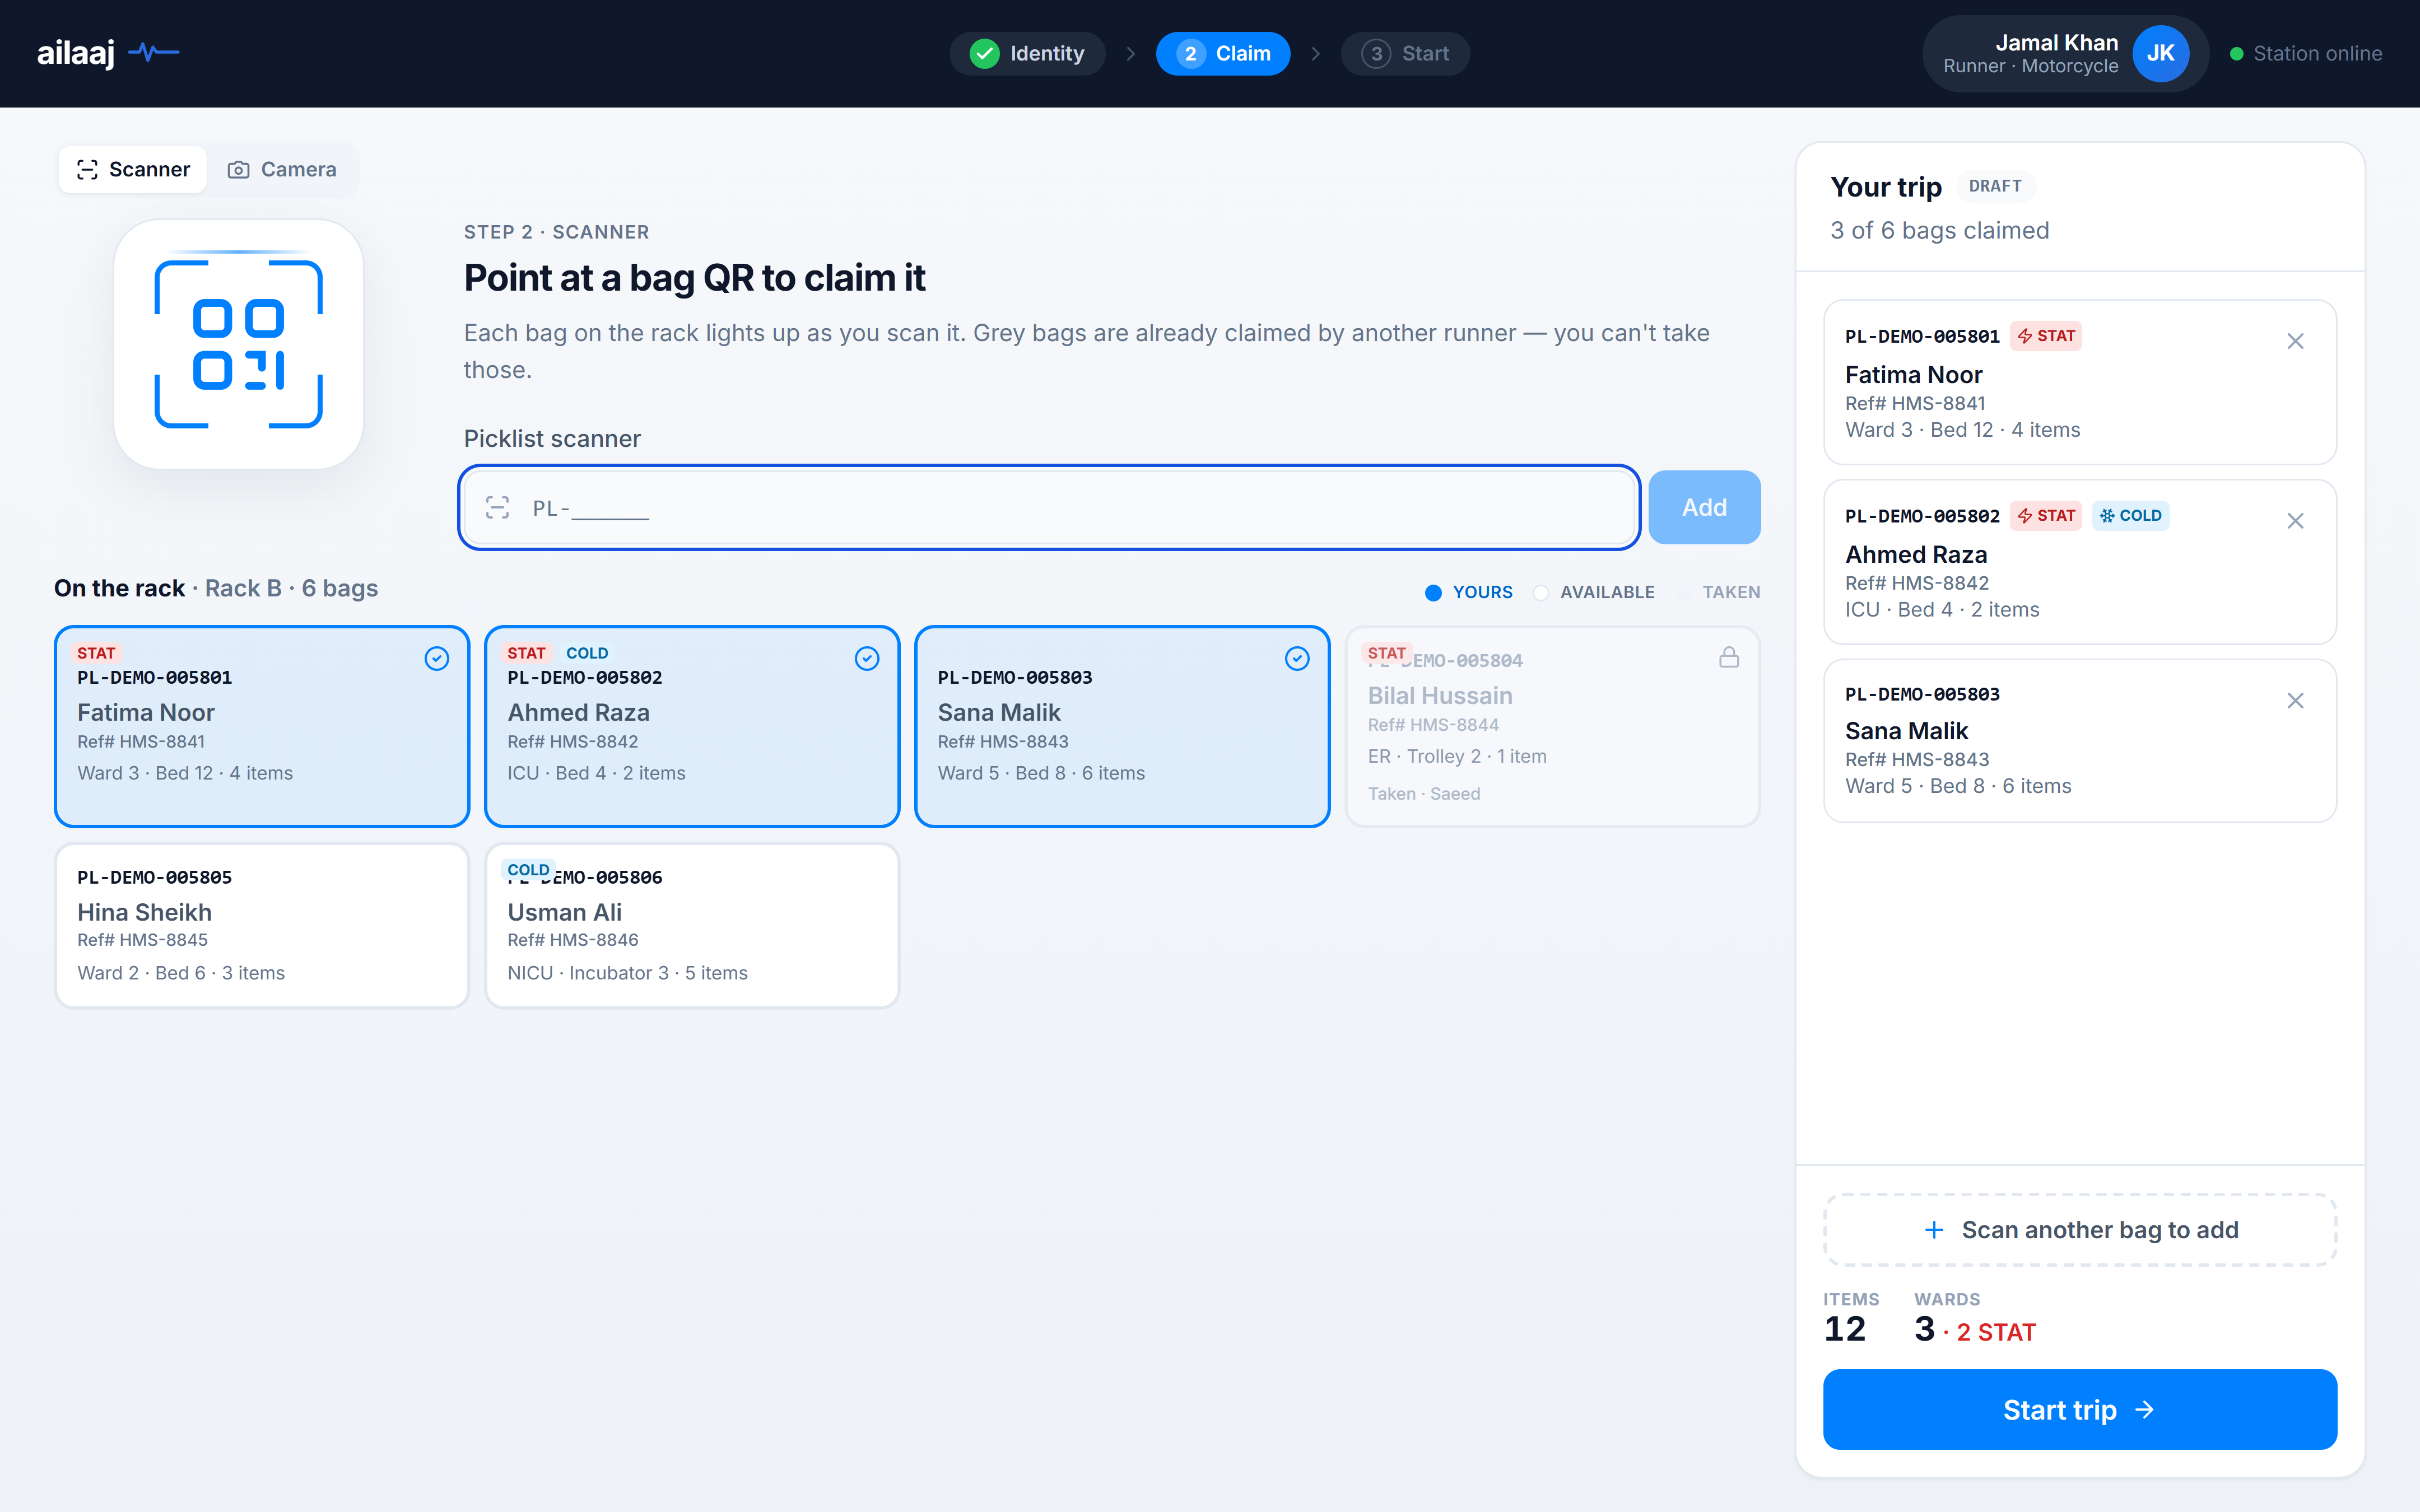
When all bags for this run are selected, click Start trip in the sidebar.
4. Start trip and print the sheet
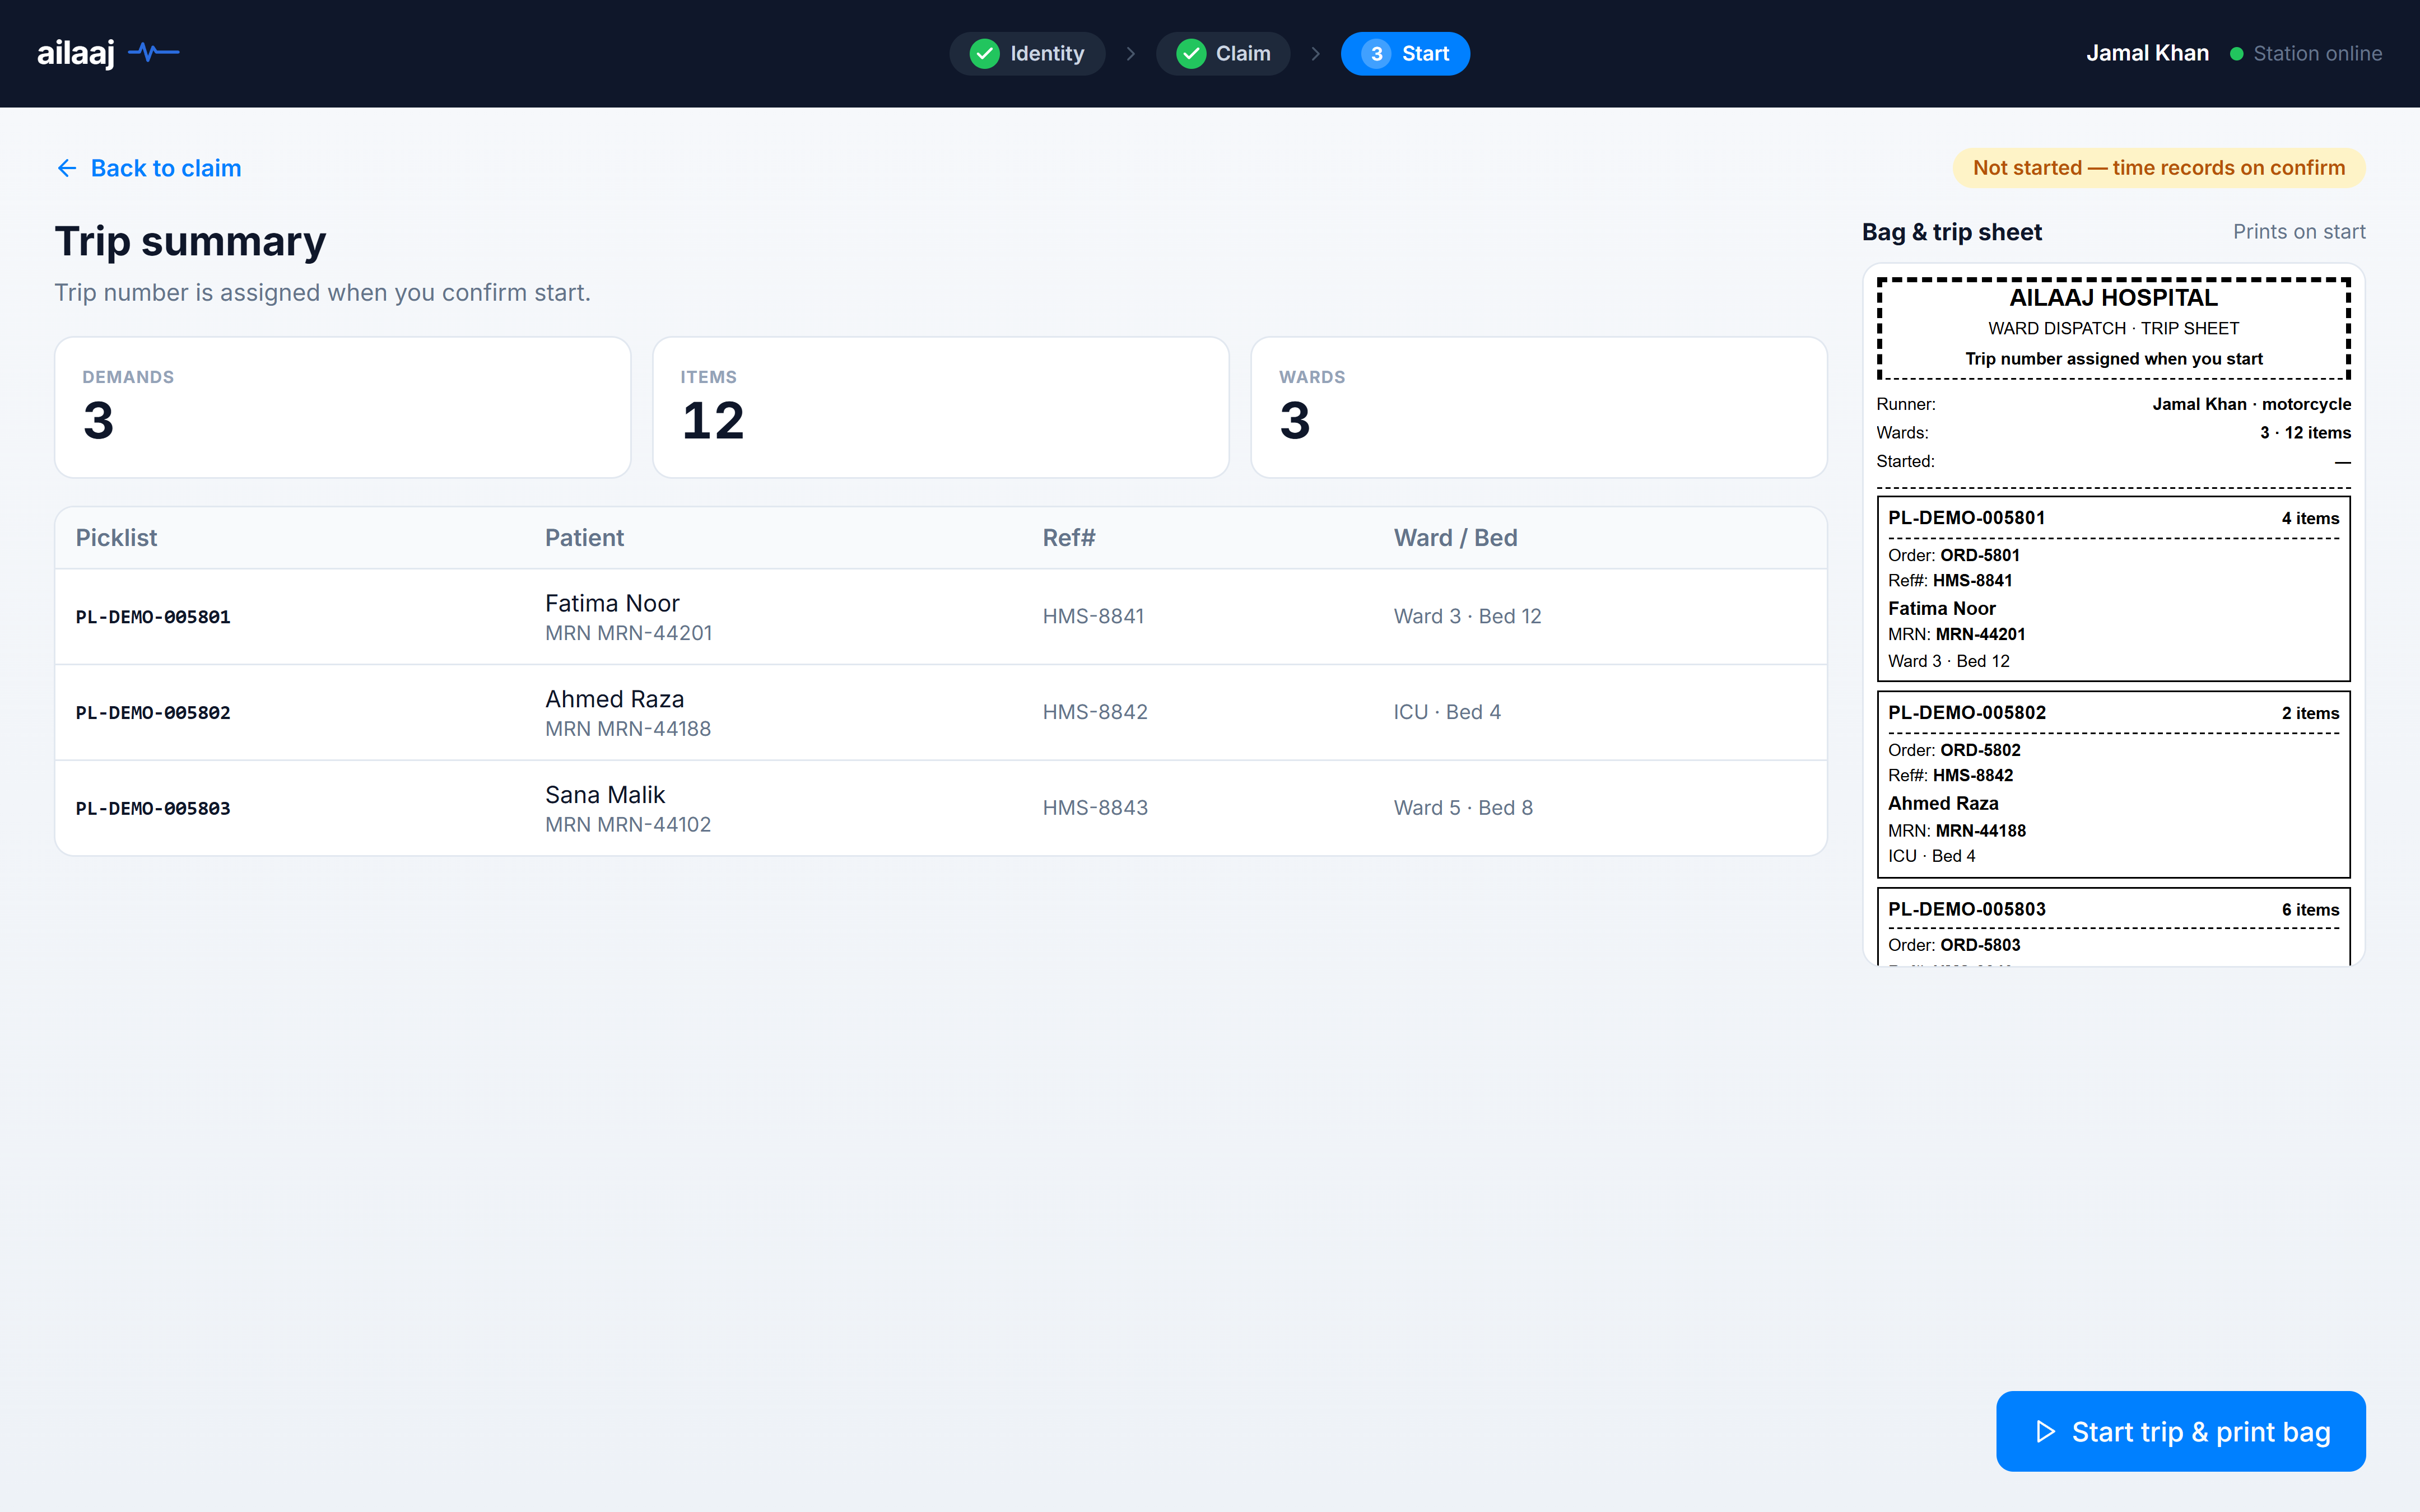
Review the trip summary and bag sheet preview, then Start trip & print bag. Picklists move to dispatched; the trip label (TRIP-XXXX) is assigned.
5. Return and end at the warehouse
Back at the pharmacy, scan the same rider badge again, choose Go to end trip, then scan the warehouse wall QR — not the badge or trip sheet.
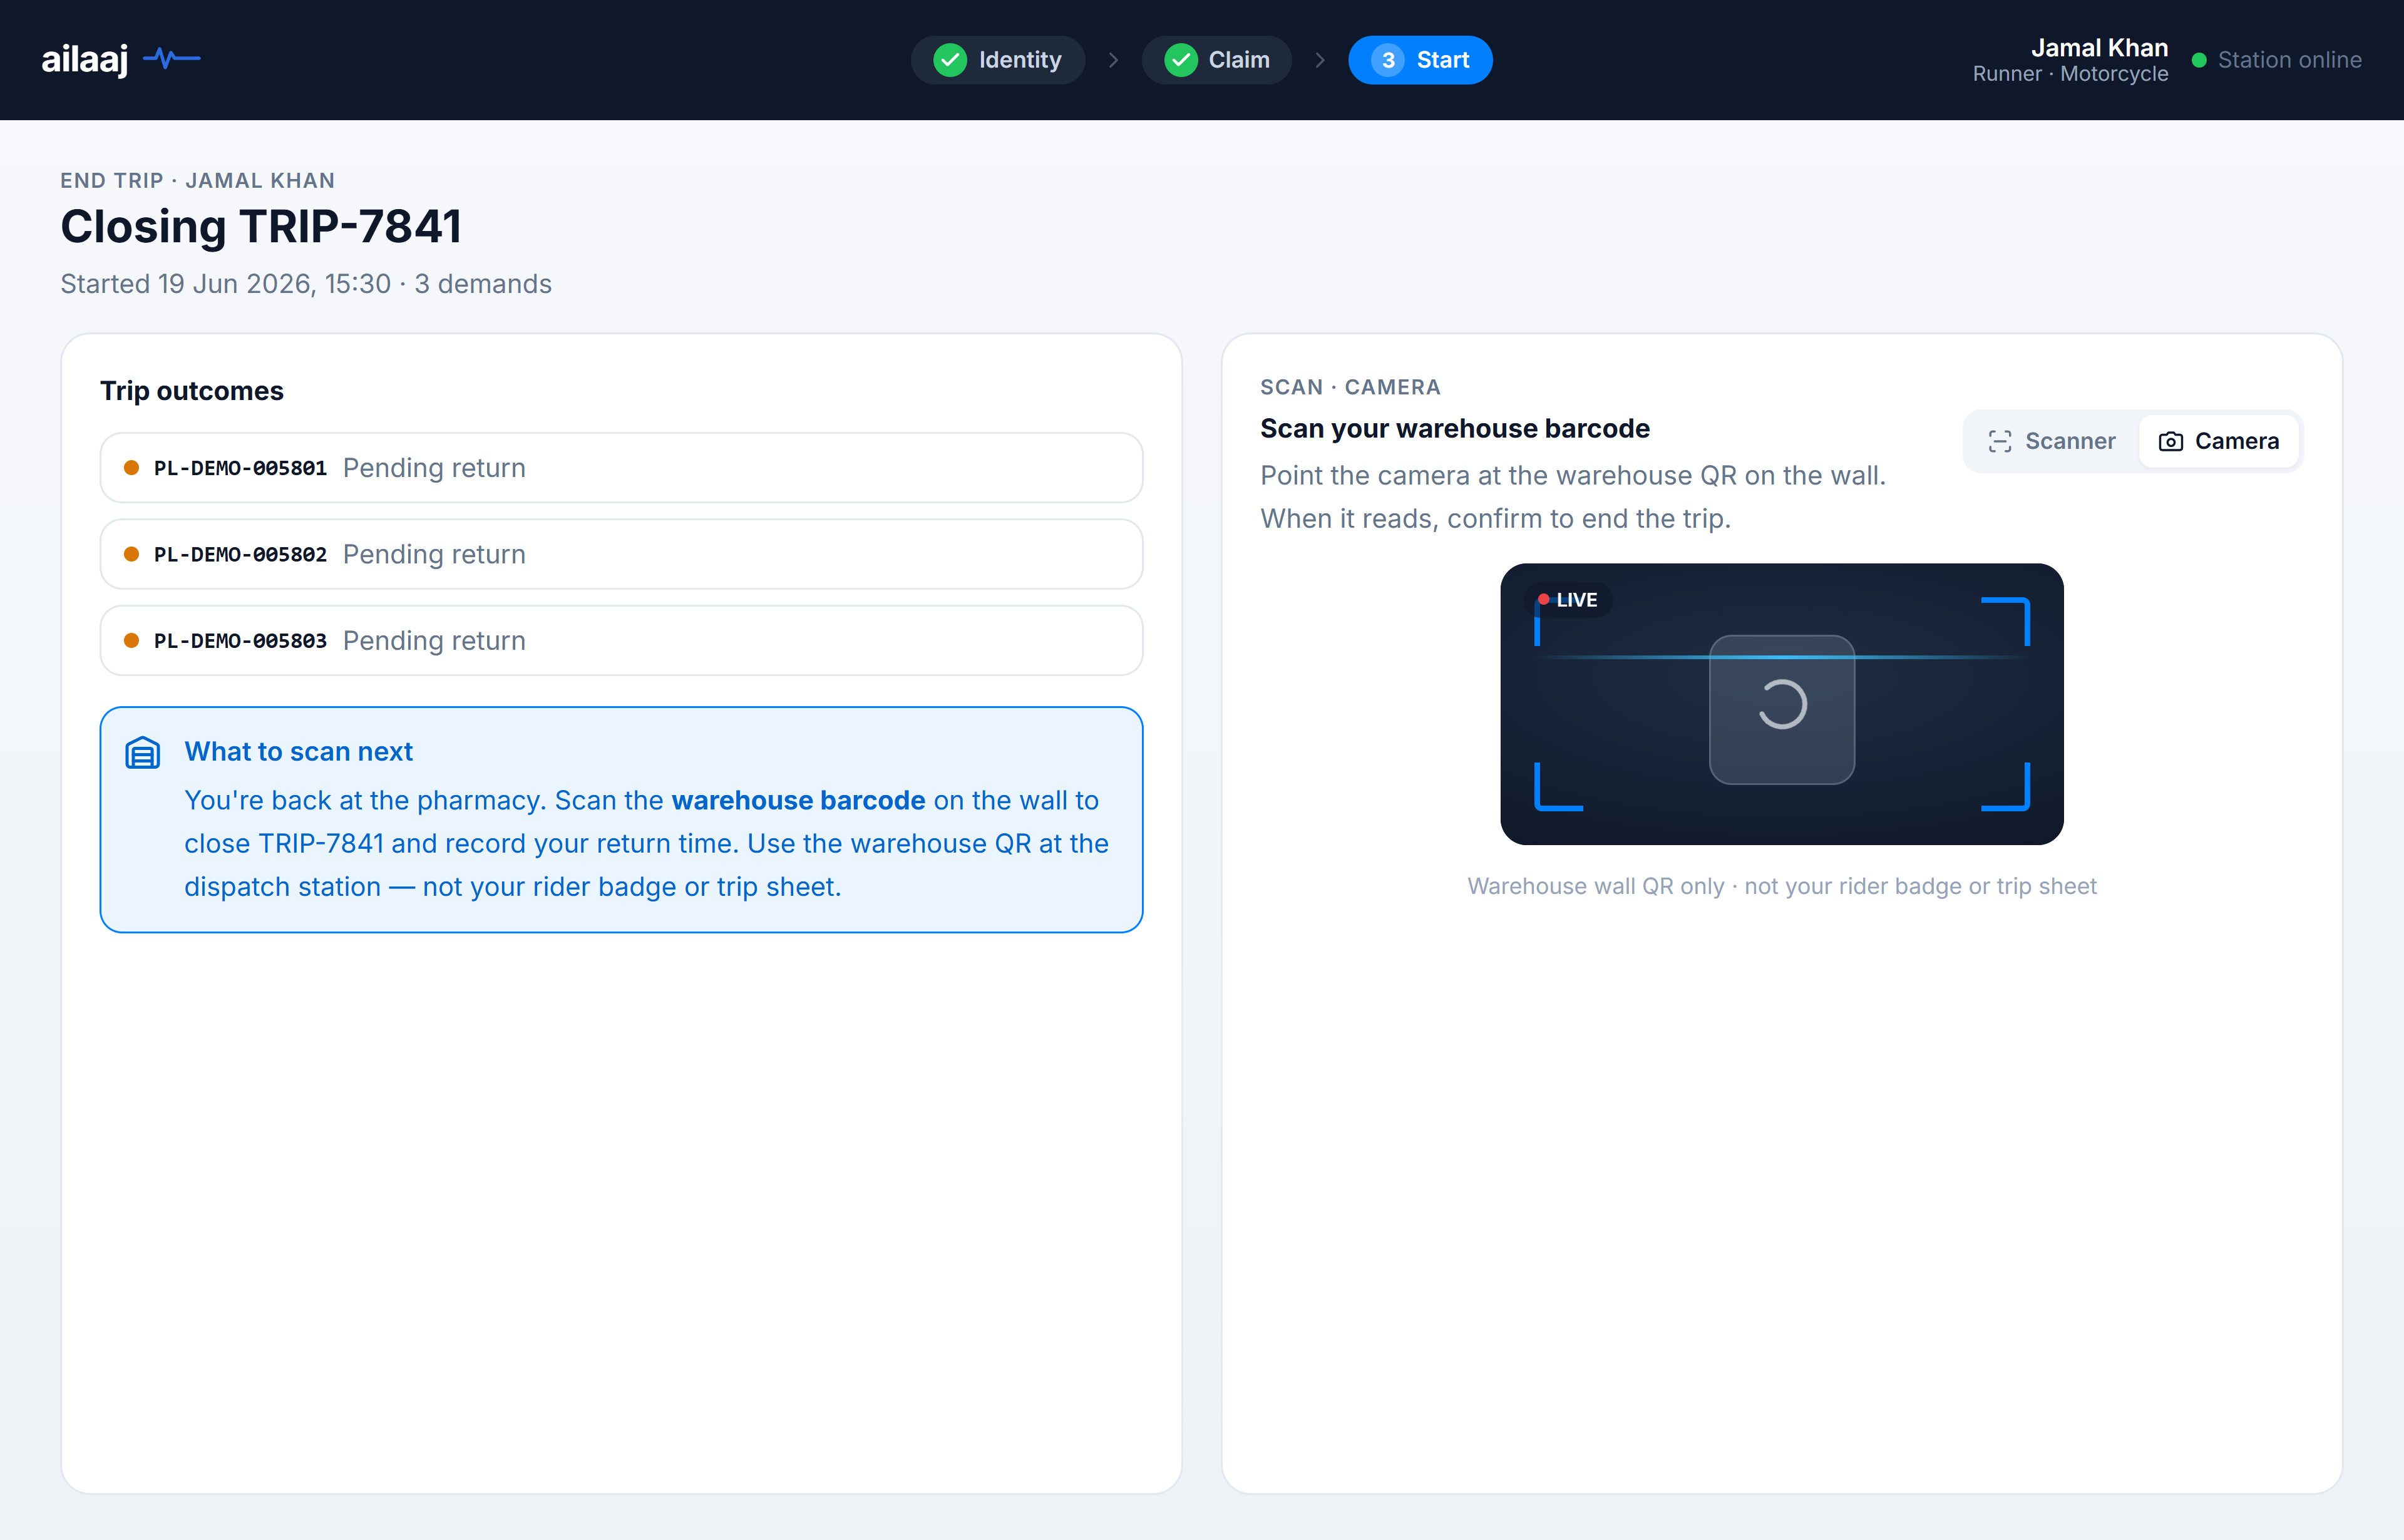
Confirm in the dialog; picklists are marked delivered with ward handoff text.
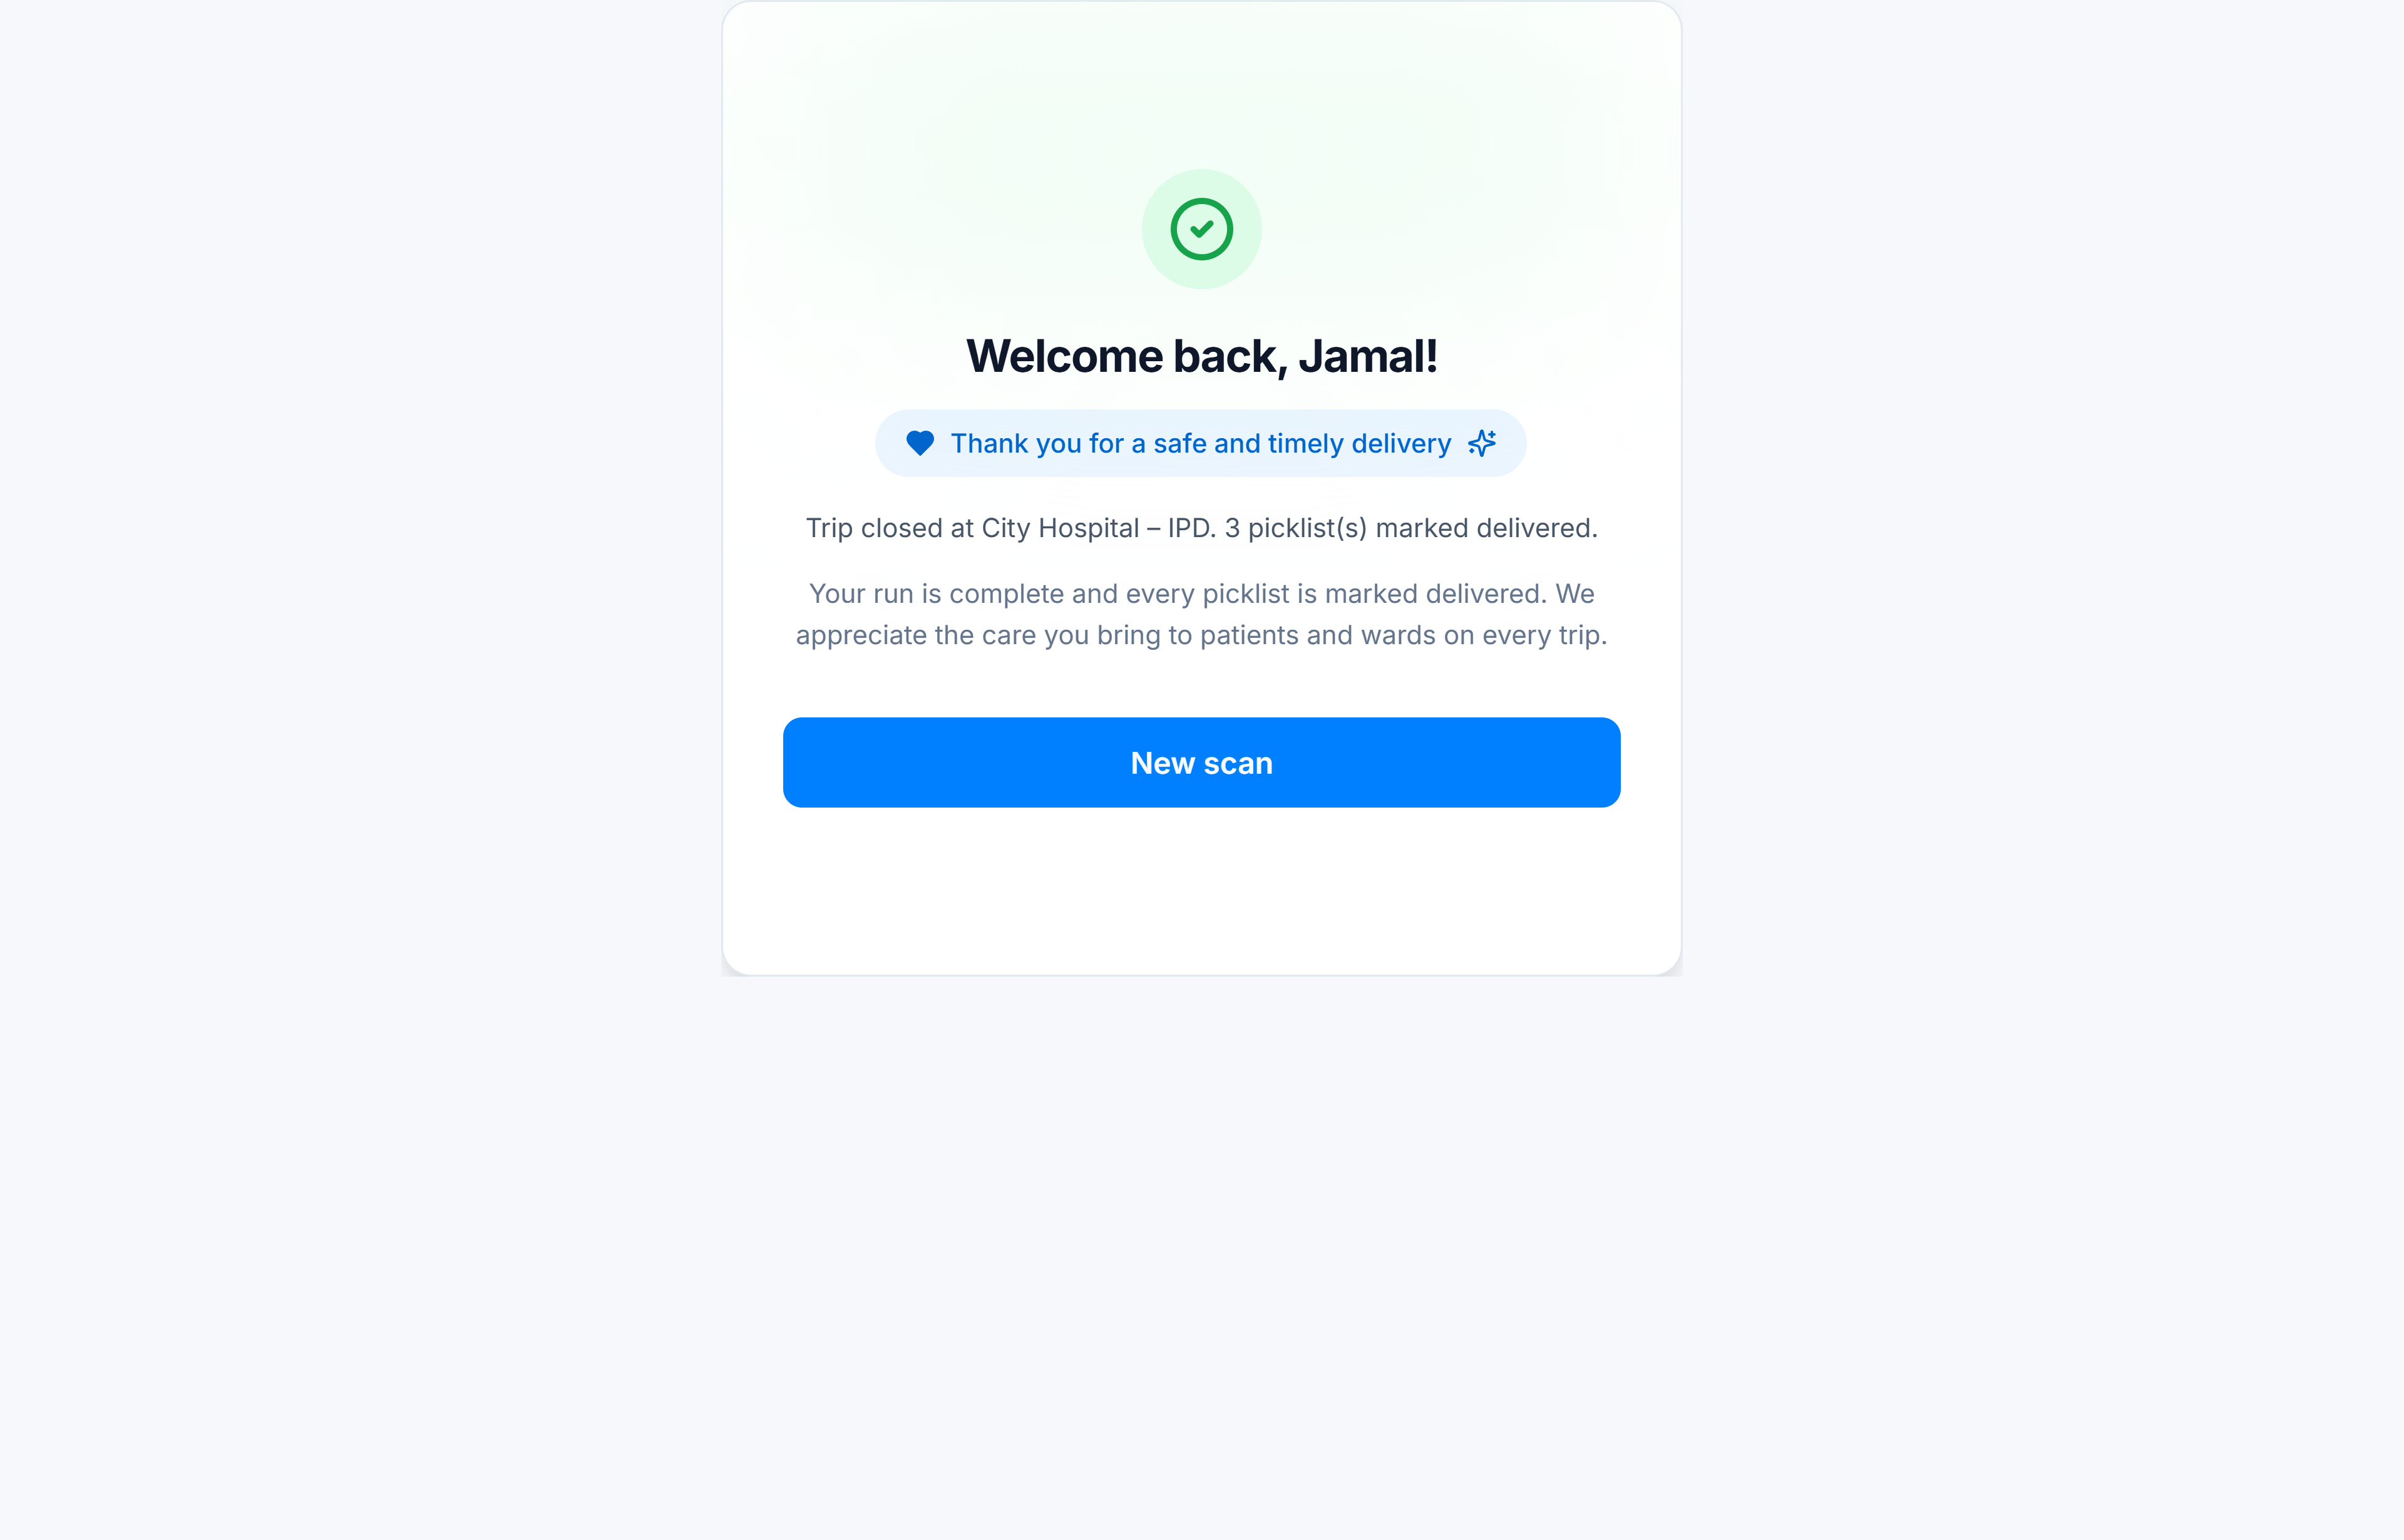
(Detail: End trip at the warehouse.)
Where to go next
- Dispatch Station guide home
- Live Dispatch Board for supervisor oversight
- QR payloads & trip states