Build your first warehouse layout
This tutorial builds a small slice of a warehouse end to end — a zone, an aisle, a rack, and a bin — then prints a label. It takes about ten minutes and is safe on a demo warehouse.
Before you start
- You can reach Inventory → Settings → Warehouse Layout and your role can manage locations (a warehouse admin can).
- Pick a demo or empty warehouse to experiment in.
1. Open the screen and read the rail
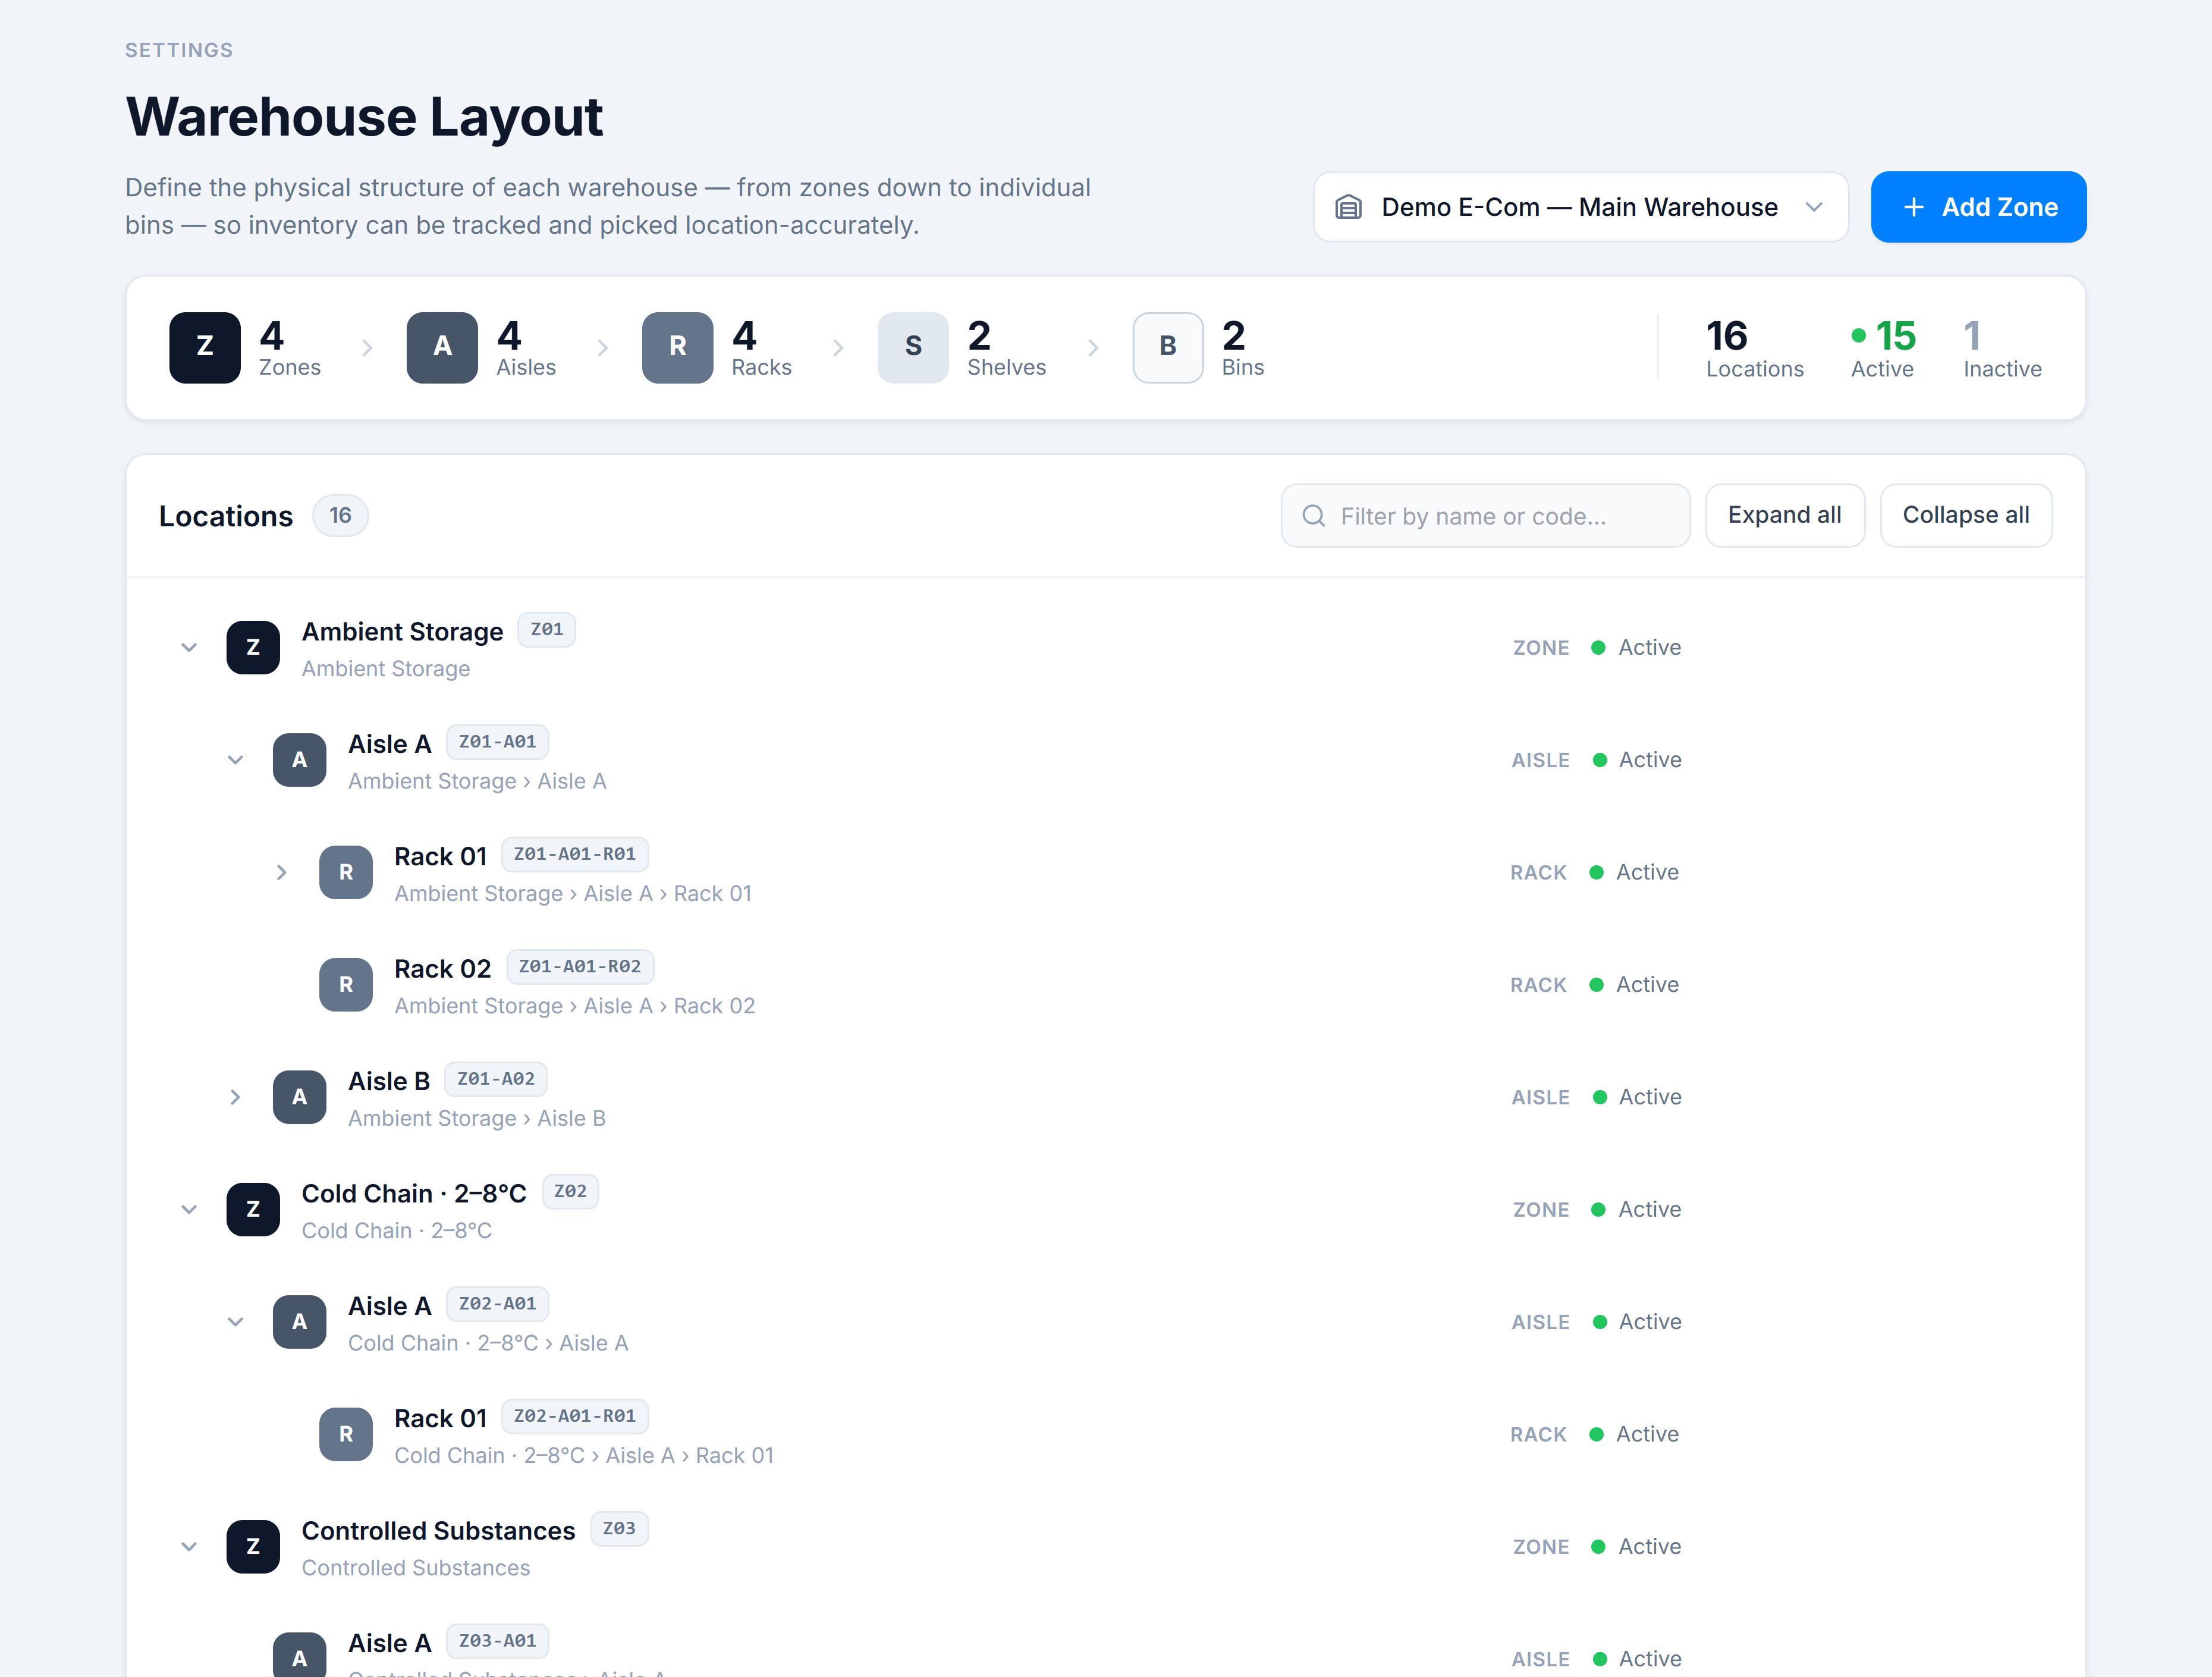
Go to Inventory → Settings → Warehouse Layout and select a warehouse. Note the summary rail — the Zones / Aisles / Racks / Shelves / Bins counts. You’ll watch these grow.
2. Create a zone
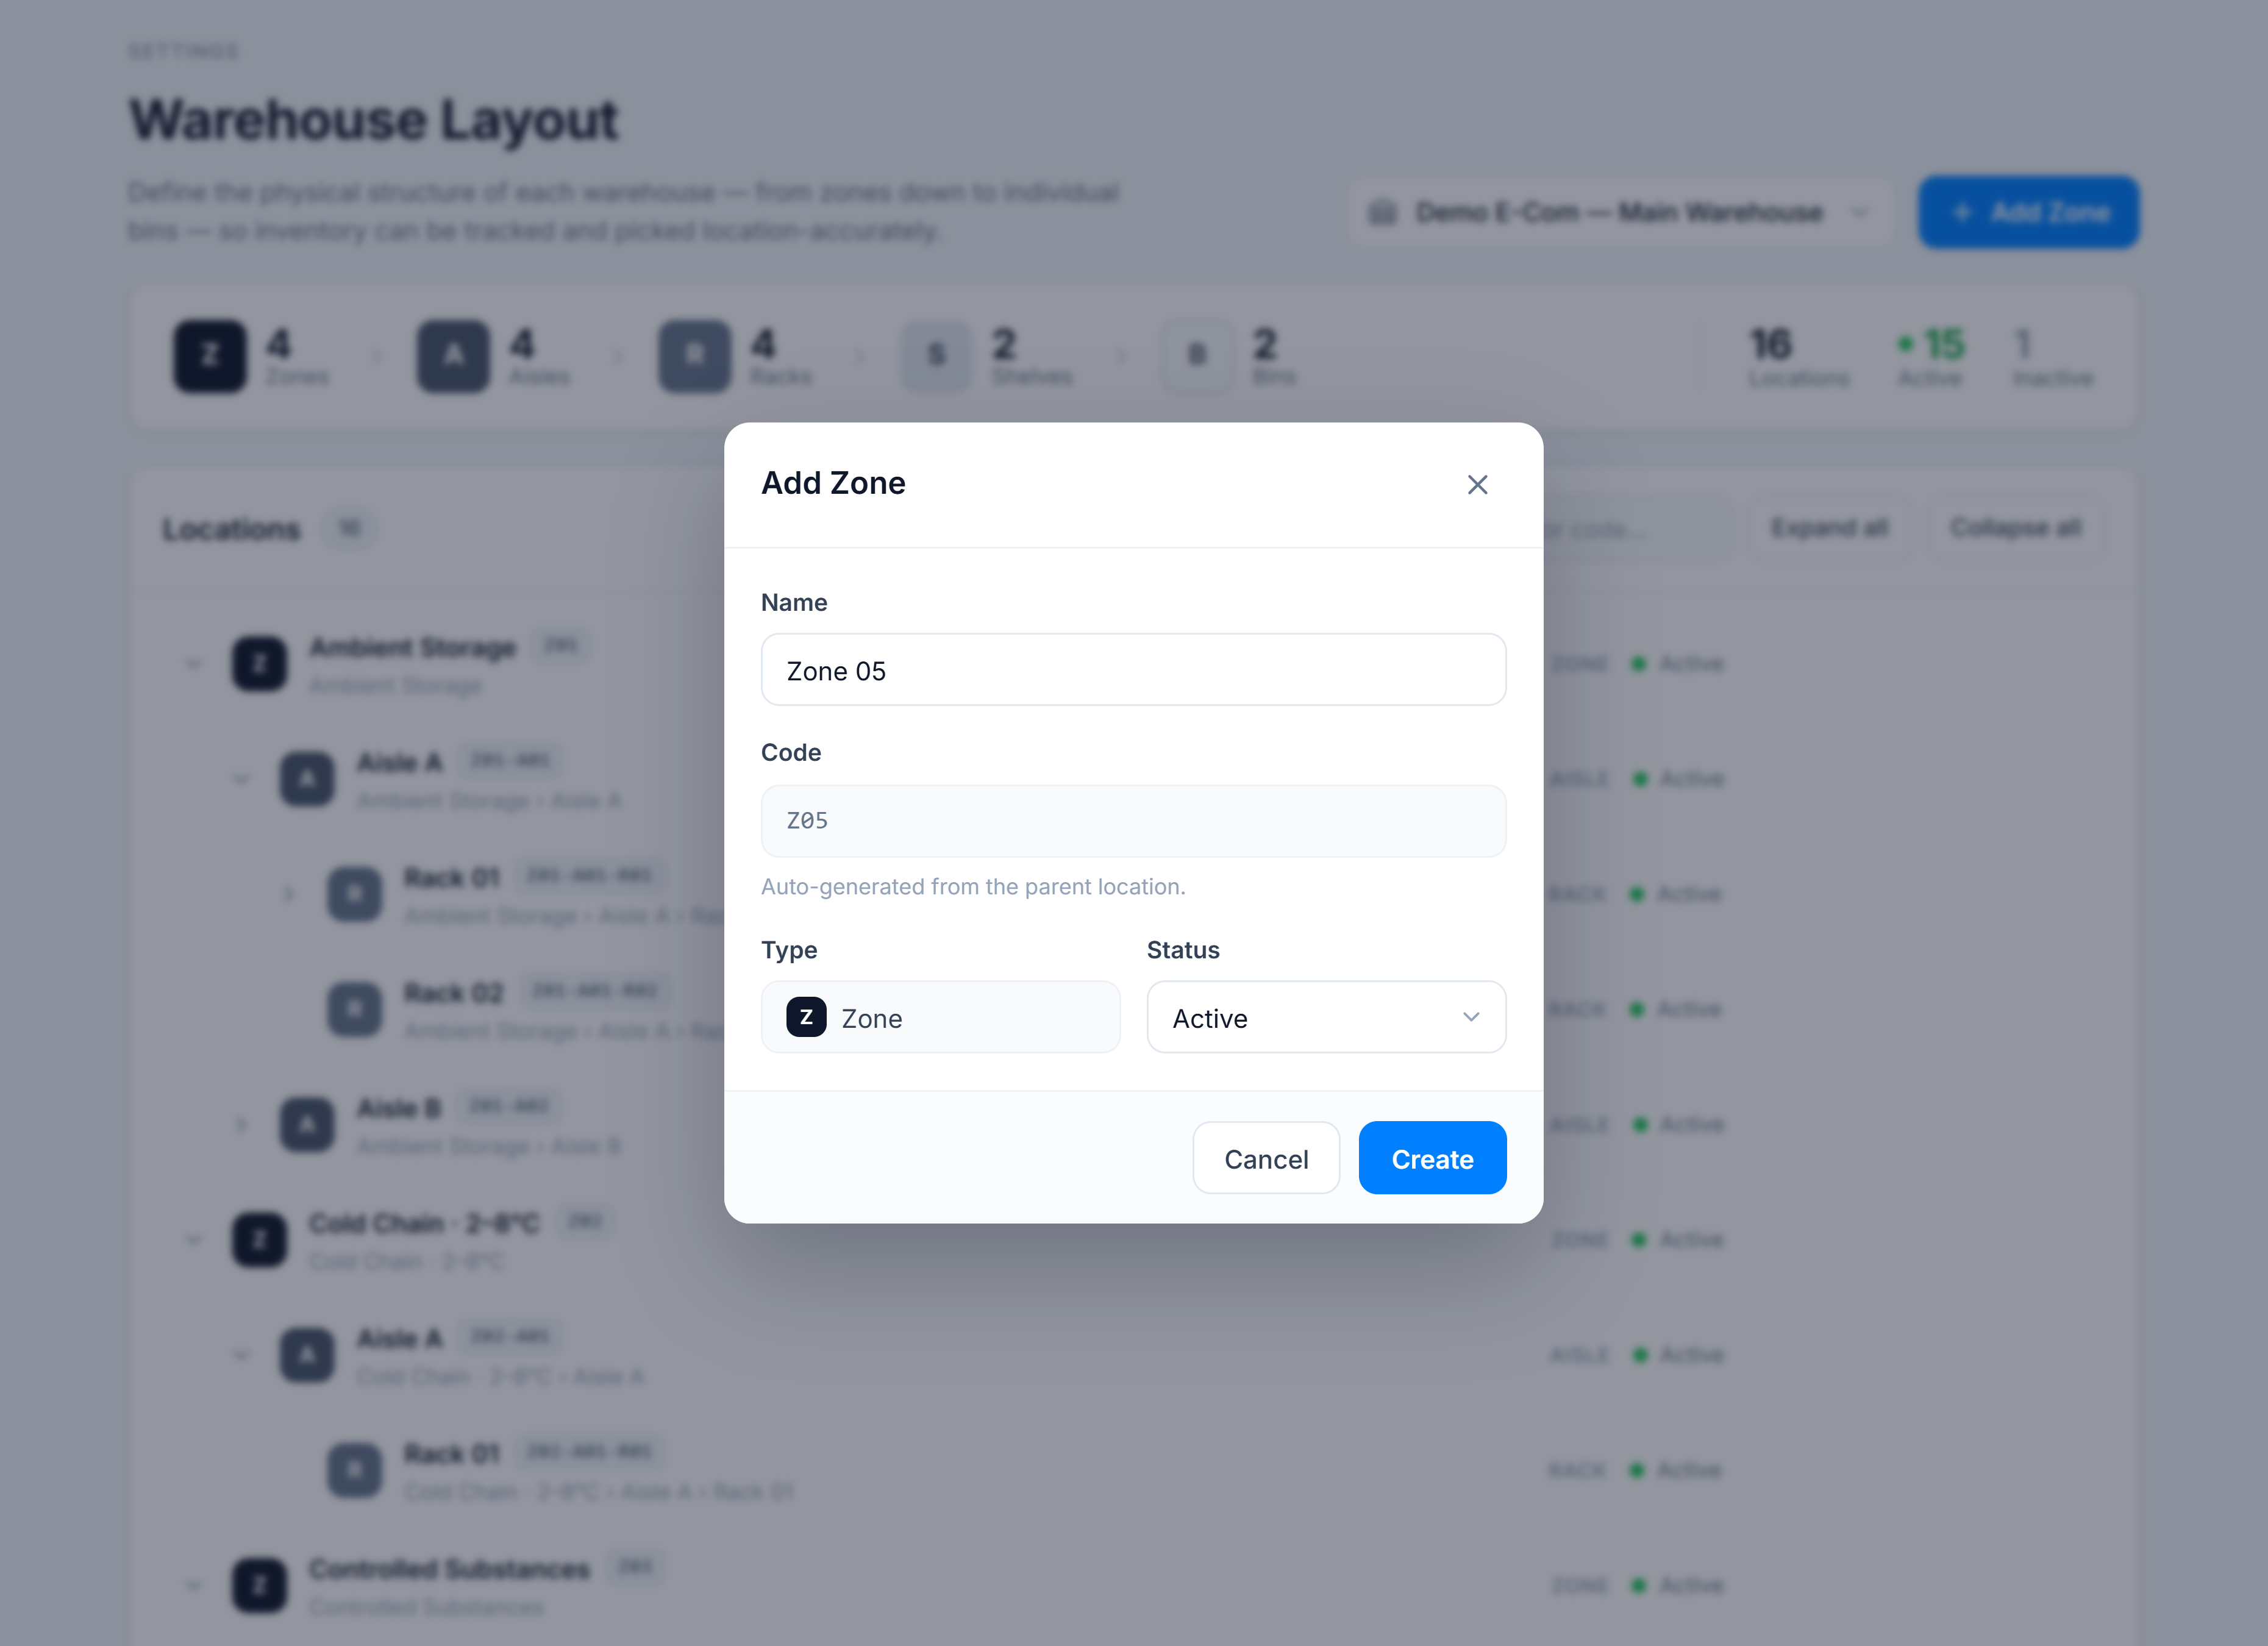
Click Add Zone. Name it Ambient Storage and click Create — the code (Z01 if it’s the first) is filled in for you.
The zone appears at the top of the tree, and Zones ticks up to 1.
3. Add an aisle, then a rack
Hover the new zone and click + Aisle. Name it Aisle A and Create — it nests under the zone as Z01-A01.
Now hover Aisle A and click + Rack. Name it Rack 01 (Z01-A01-R01) and Create. Keep going if you like: + Shelf on the rack, then + Bin on the shelf. Each level auto-expands as you add to it.
4. Print a bin label
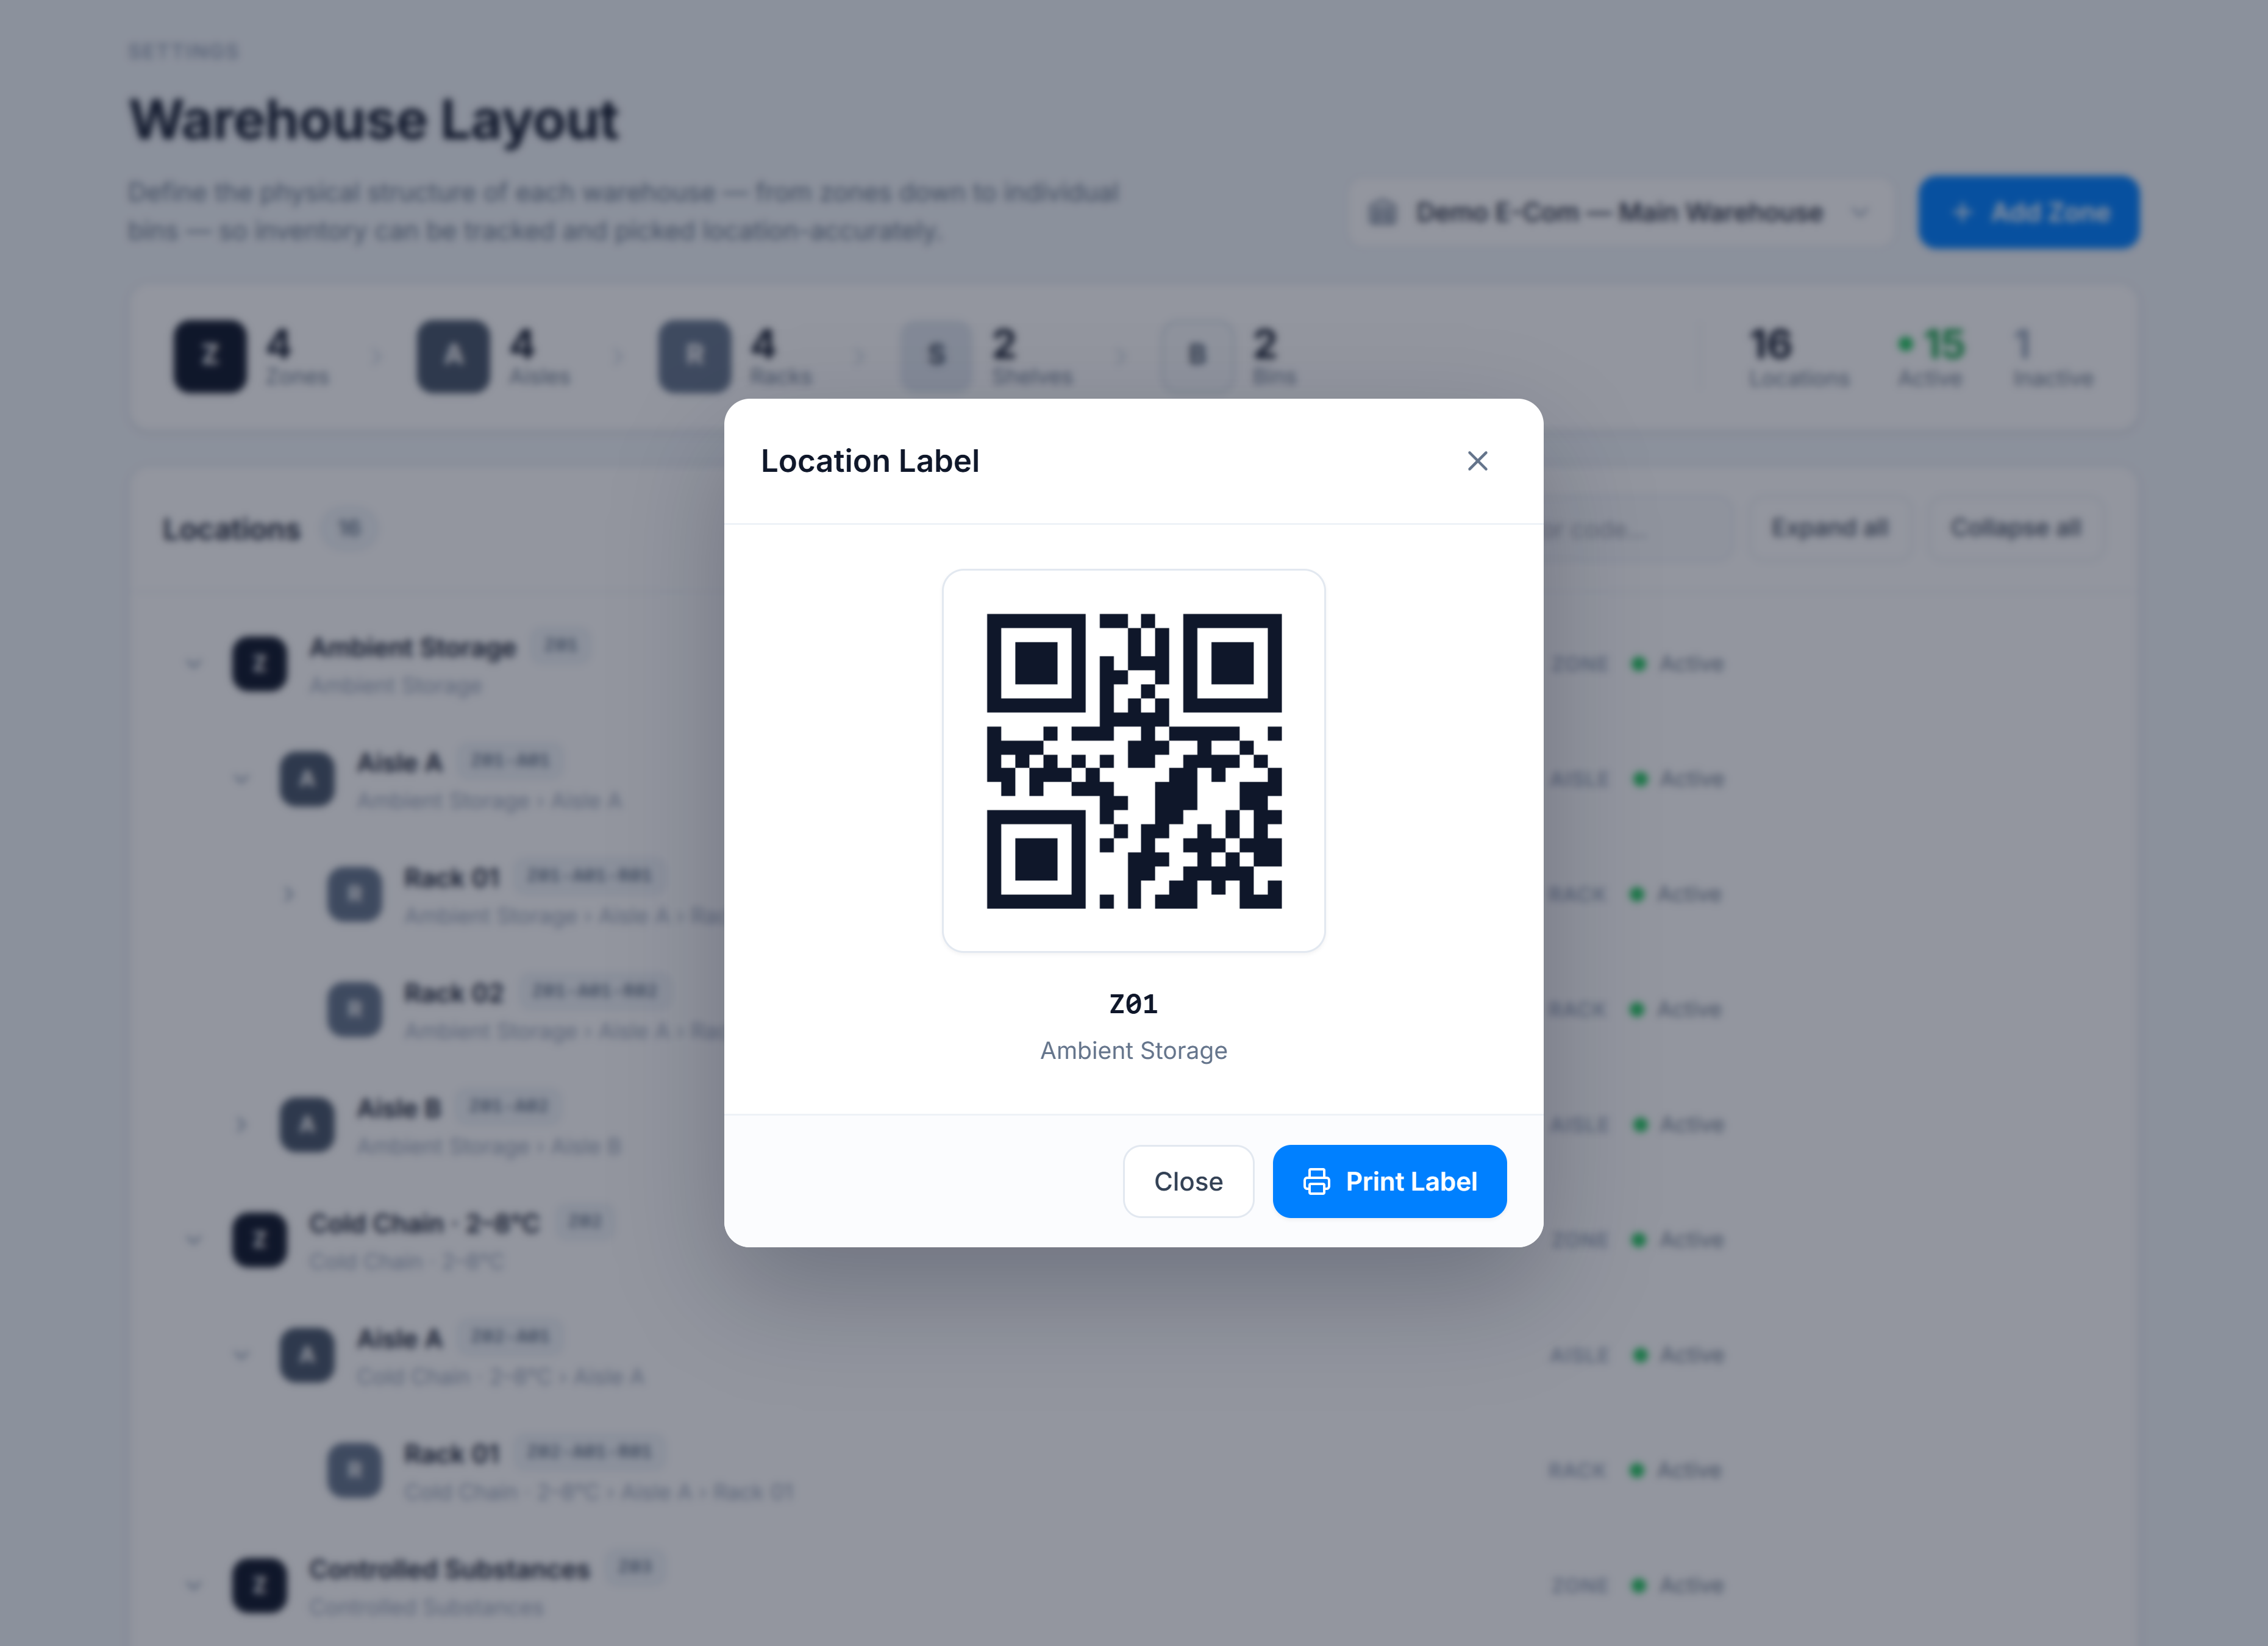
Hover any bin (or the rack) and click the QR action. The Location Label dialog shows a scannable QR of the code plus its full path. Click Print Label to open the print view.
5. See the structure
Back on the tree, use Expand all to see the whole branch, and try the filter box — type R01 to jump straight to your rack. The summary rail now reflects everything you built.
What you learned
- How the Zone → Aisle → Rack → Shelf → Bin hierarchy is created one level at a time.
- How codes are auto-generated from the parent.
- How to print a scannable label and filter a large tree.
Where to next
- Take a location out of use without deleting it: Edit a location.
- Understand what happens to stock when you remove a location: Delete a location.
- The full rules: Location types & codes.