Set up your brand directory
Your catalog needs a clean brand directory so products, POs, and the storefront all reference the same manufacturers. This tutorial walks through reviewing library health, finding a brand, featuring one for your tenant storefront, and adding a new entry.
1. Open Brands and read the KPIs
Go to Catalog → Classification → Brands. The four KPI cards show Total brands, Global brands, Tenant brands, and Featured on storefront. L1 admins see an Admin scope notice.
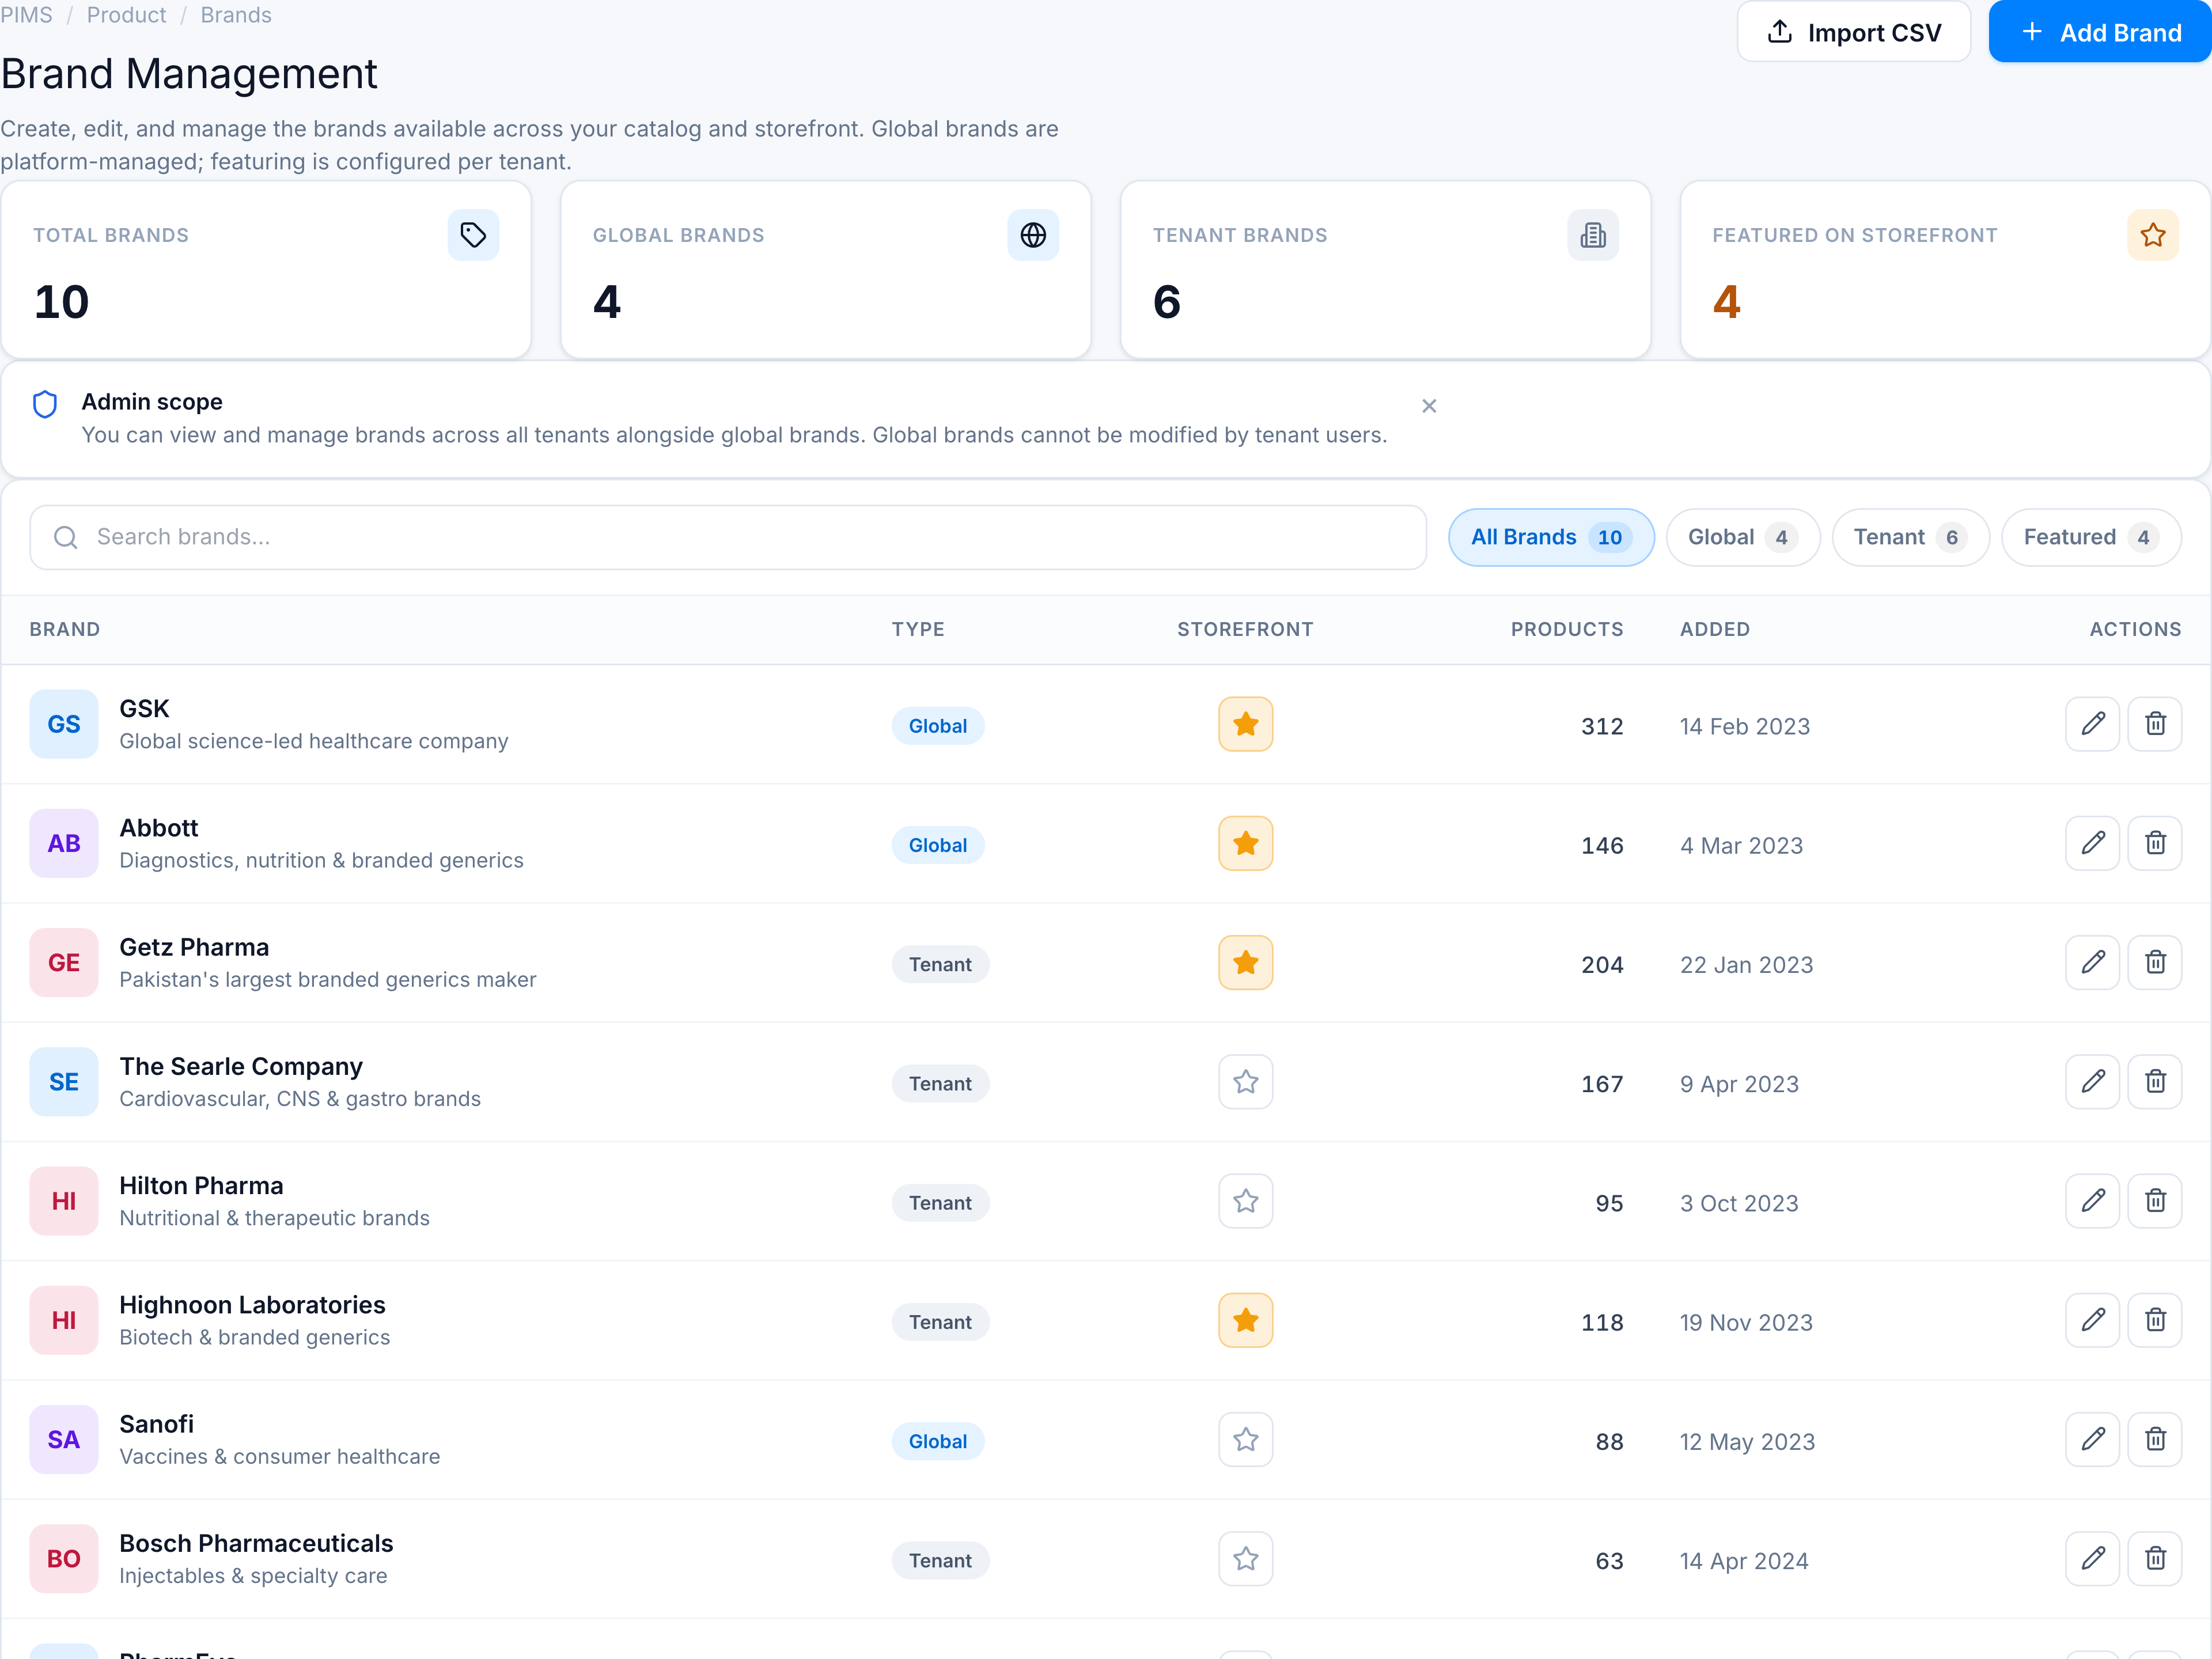
2. Search for a brand
Type in Search brands… (e.g. Getz). Matching rows filter by name and description. Use the pill tabs to narrow by Global, Tenant, or Featured.
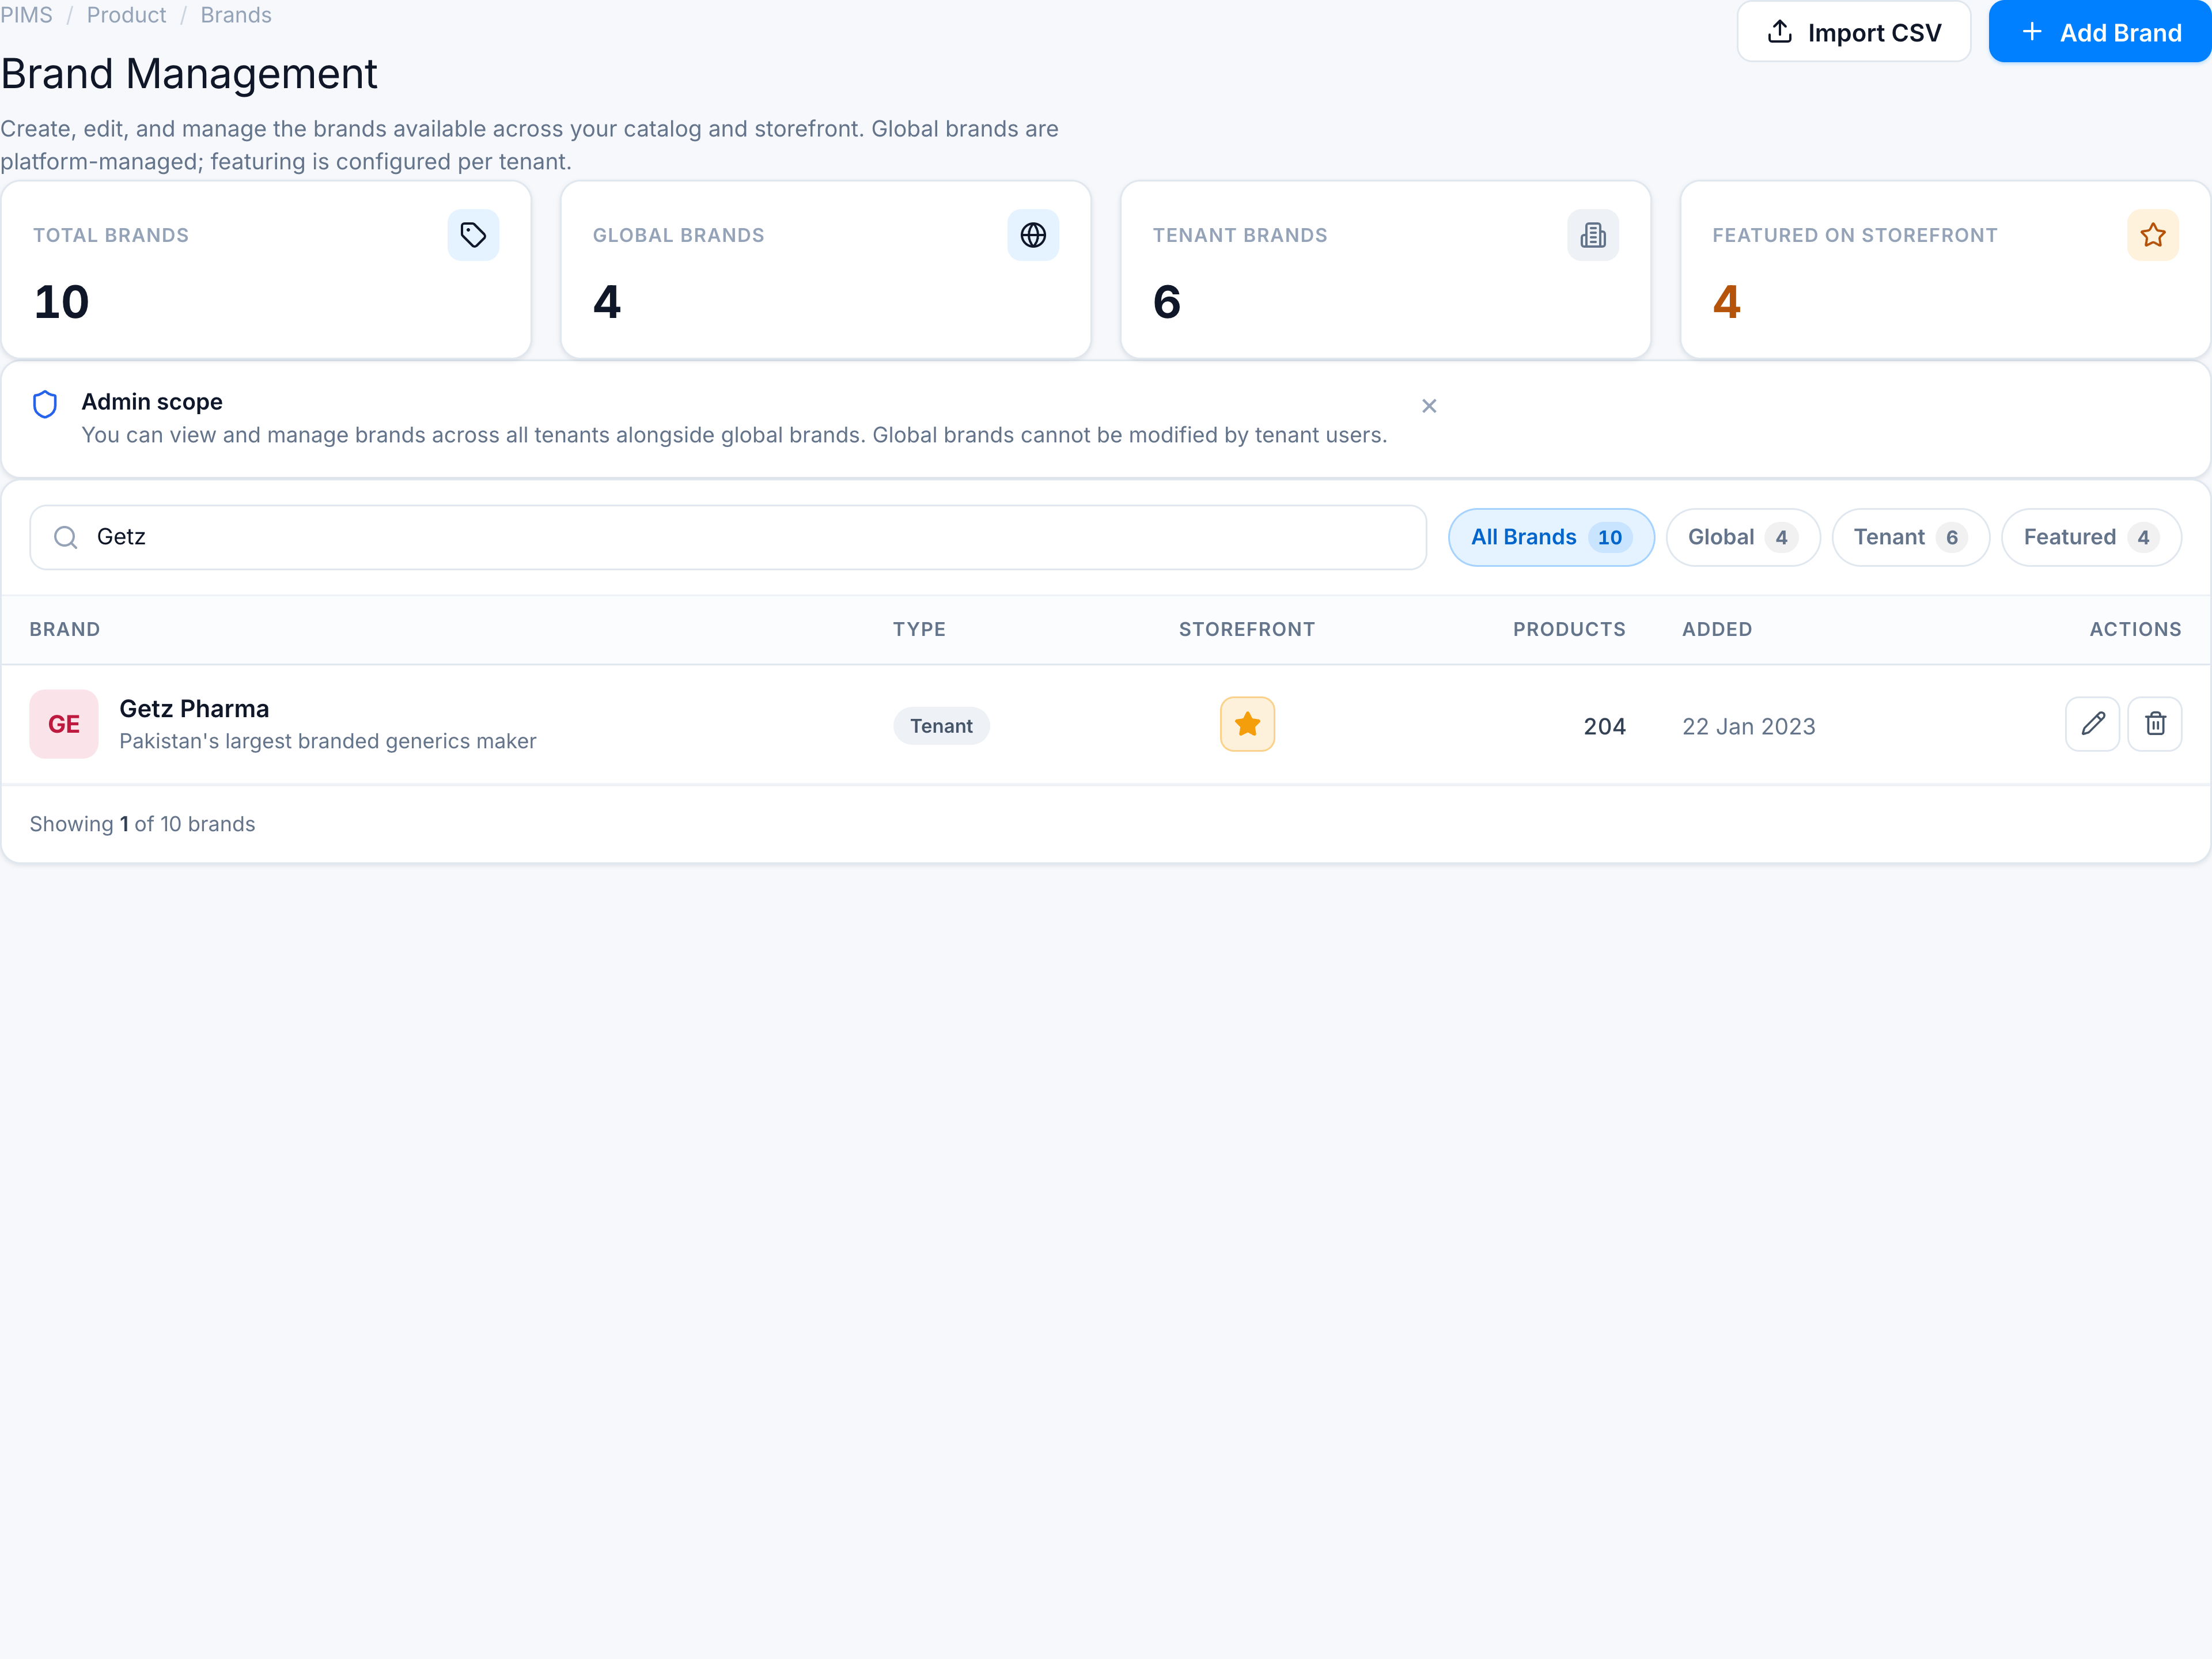
3. Feature a brand on your storefront
Click the star in the Storefront column. A filled amber star means the brand is featured for your tenant — it appears in sponsored manufacturer slots on the B2C storefront. For global brands, featuring is tenant-specific and does not affect other tenants.
4. Add a new brand
Click Add Brand. Enter name, description, optional logo, and scope (L1 admins can mark Global). Click Save.
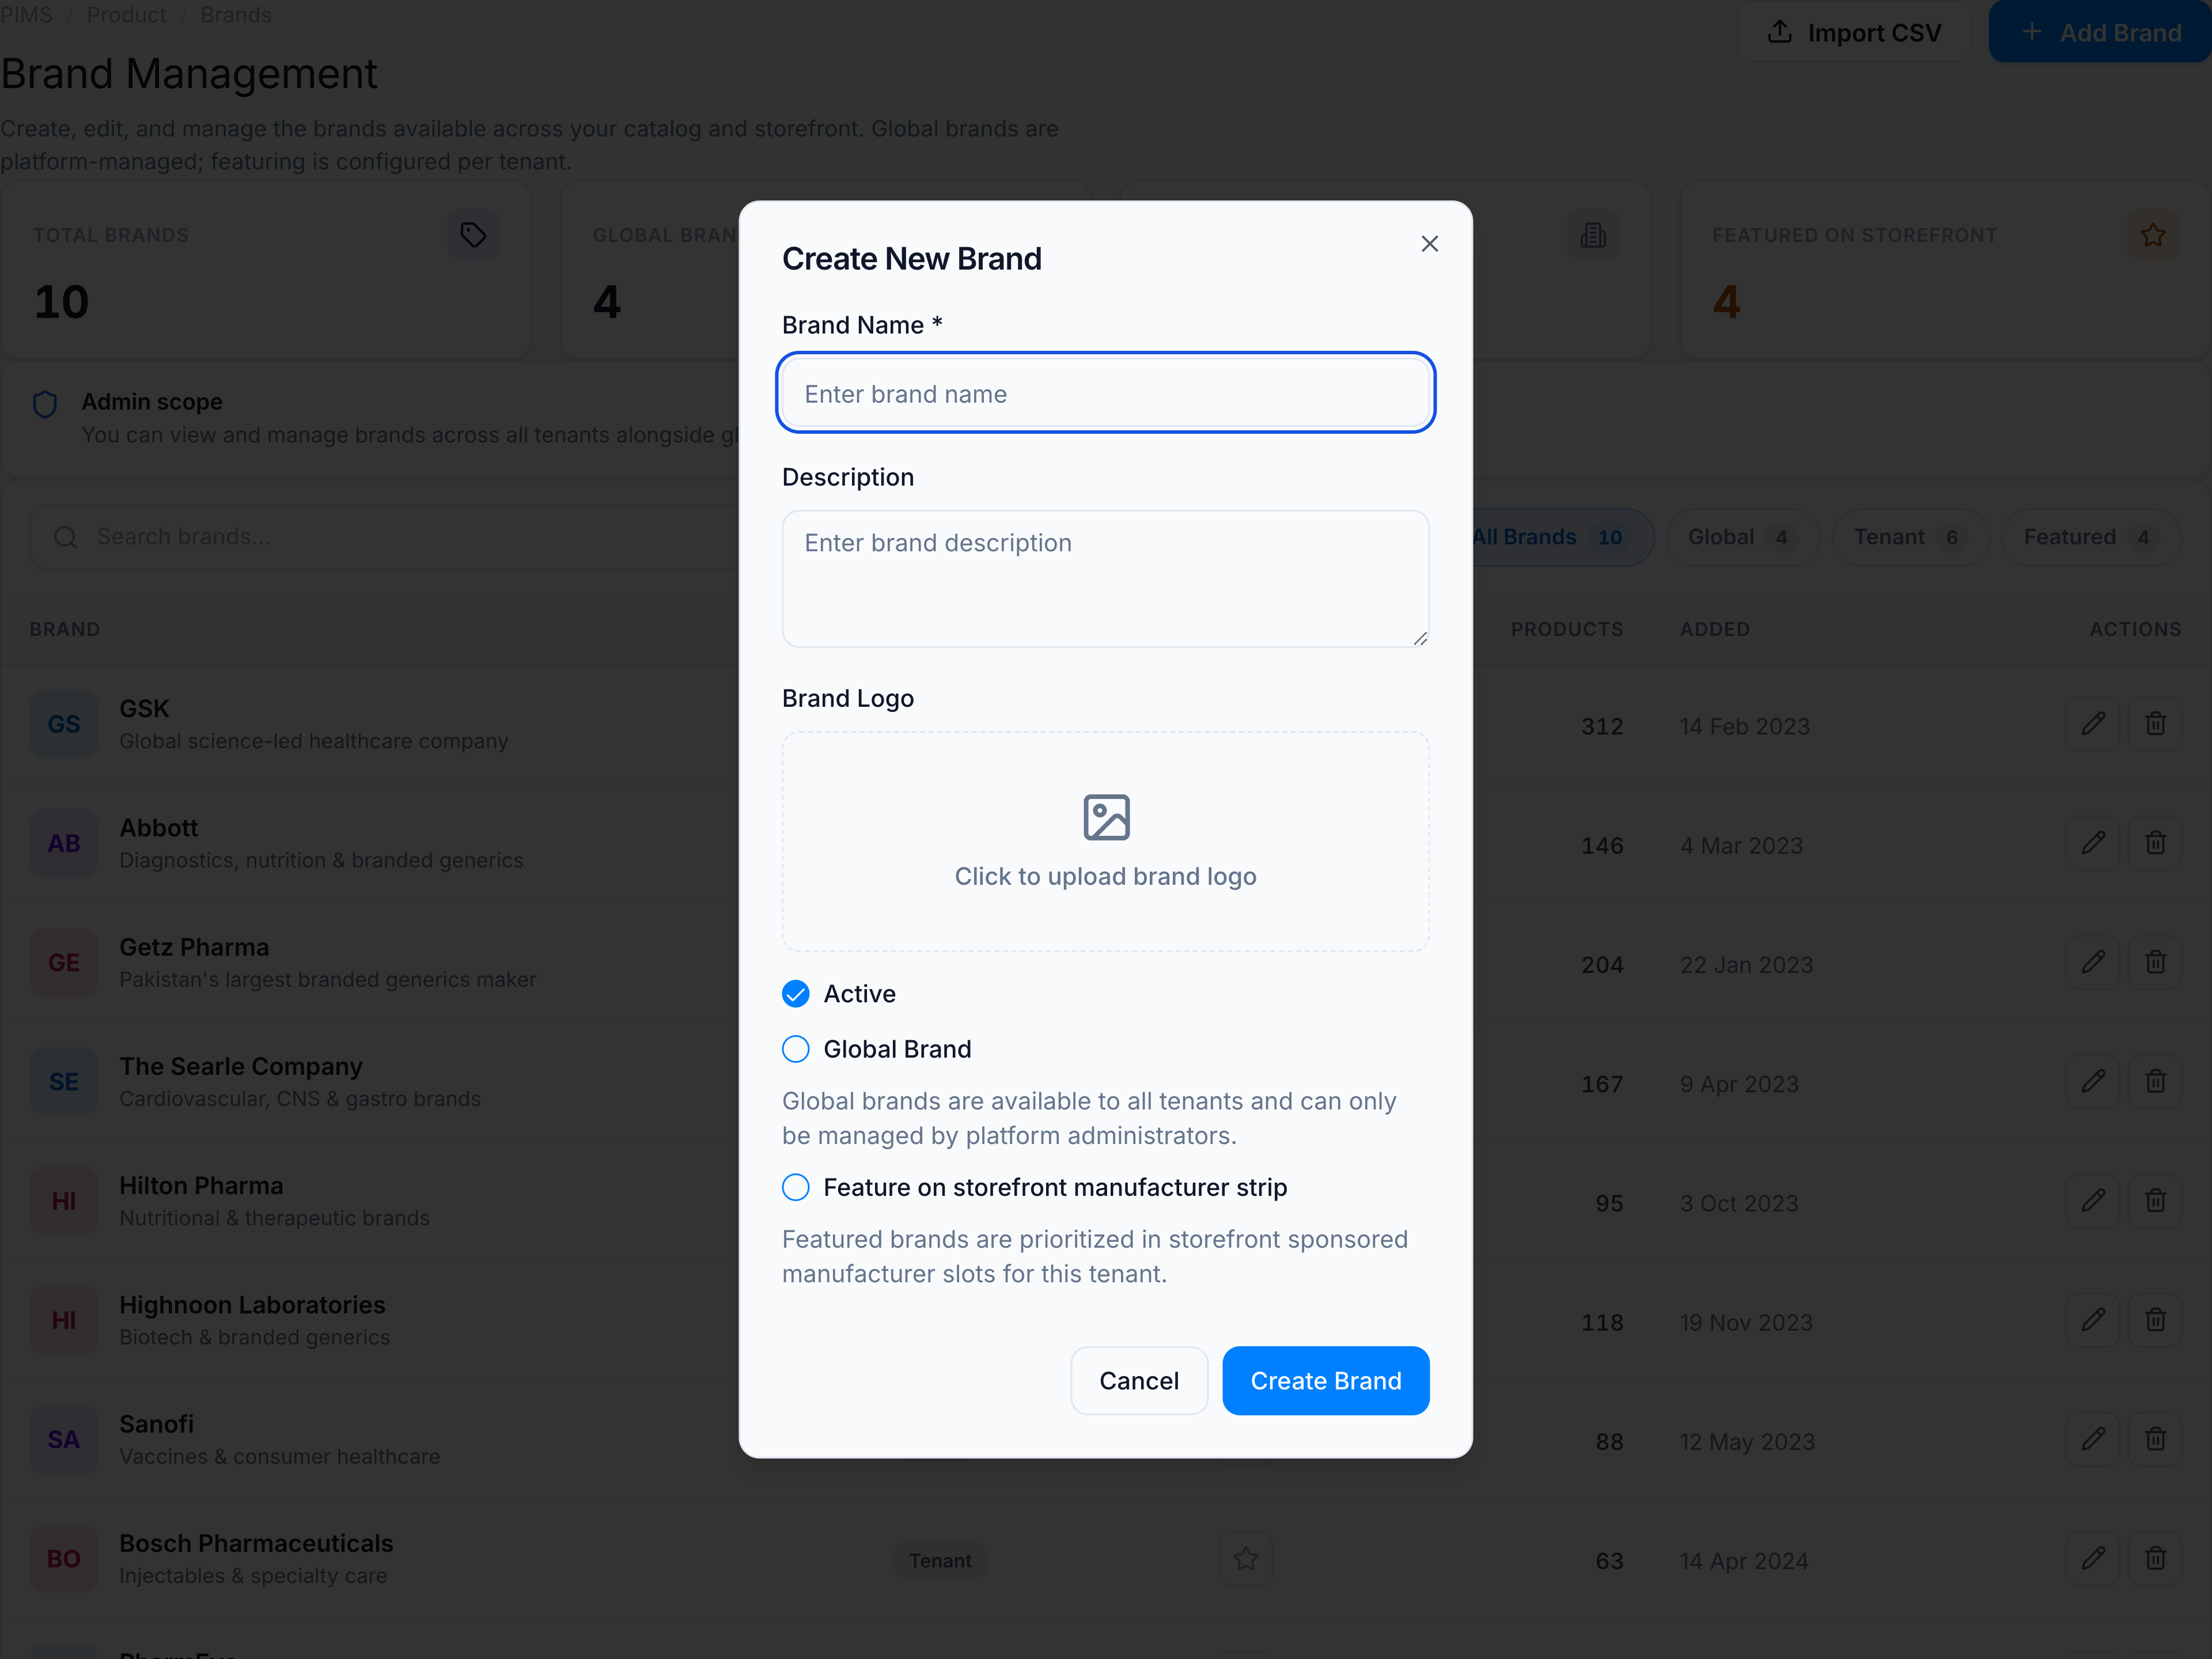
Success toast confirms creation. The new row appears with initials avatar (or uploaded logo), type pill, and product count starting at 0.
You have now reviewed library health, searched the directory, featured a brand, and added a new manufacturer.